Once upon a time, I had a vision of creating modular terrain boards. Through many hours of YouTube I determined I would probably need an airbrush to make painting said boards easier. This was maybe a year ago. Flash forward to 2025 and I have some supplies to try building boards but I’ve done nothing with it… However, I bought an airbrush!
I decided to take a class at Adepticon, Airbrush 101 with Aaron Lovejoy. It was very well taught, I highly recommend it. I left the class feeling confident that I could buy an airbrush, maintain it and do very basic things. My main goal was priming and base coats. I wanted to set the bar as low as possible.
This was definitely an impulse buy Sunday afternoon at Adepticon. I went to the Badger Airbrush booth and bought a lot of things that were “discounted”. Was it actually a deal? Probably yes, but I spent way more than I wanted to. Here’s what I got:
- Badger Patriot 105 Extreme
- Airbrush Cleaner
- Hose with Moisture Trap
- 18 Stynylrez primers
- .5 mm needle, because the 105 extreme comes with a .3mm needle
I don’t really regret my purchase, except for the 18 color primers. I don’t know if I’ll ever use all the colors. Maybe they’ll appear in future projects.🤞
Getting Started
We’ll skip the part about buying a compressor, I bought one with a tank and water trap from Amazon. It arrived the same day. My general understanding was that I could wear a mask, spray into a box and be good to go. I only plan on using acrylic paints. Google said I would be fine as long as I wear a mask in a ventilated room.
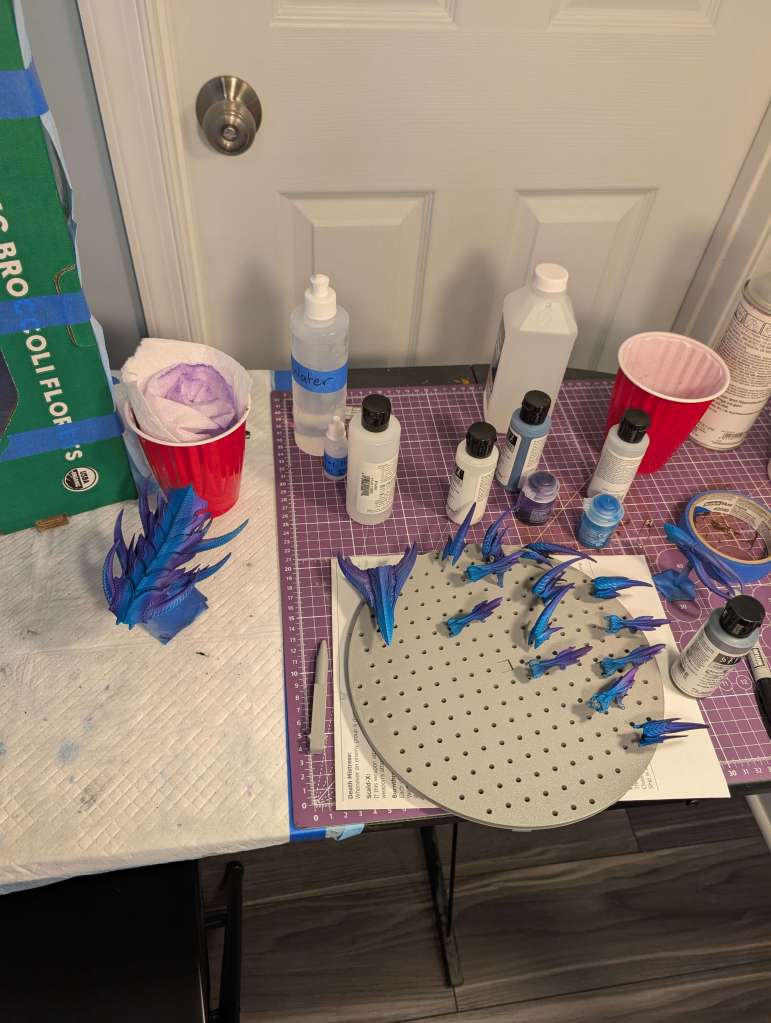
I was concerned about the box not catching everything so I jazzed it up a little. I used a dog pee pad to help catch any over spray and do dots as warm up. Gloves because who wants paint on their hands. Then I 3D printed a few accessories. An airbrush holder and turntable with holes in the tray. This was very useful for sticking the ships in. I don’t love the airbrush holder but it does the trick, I might upgrade it later. I also got an air filter to run while I’m spraying and a few hours after I’m done. I’ve looked at the filter a few times and there was some paint there. That was partially reassuring and kind of concerning.
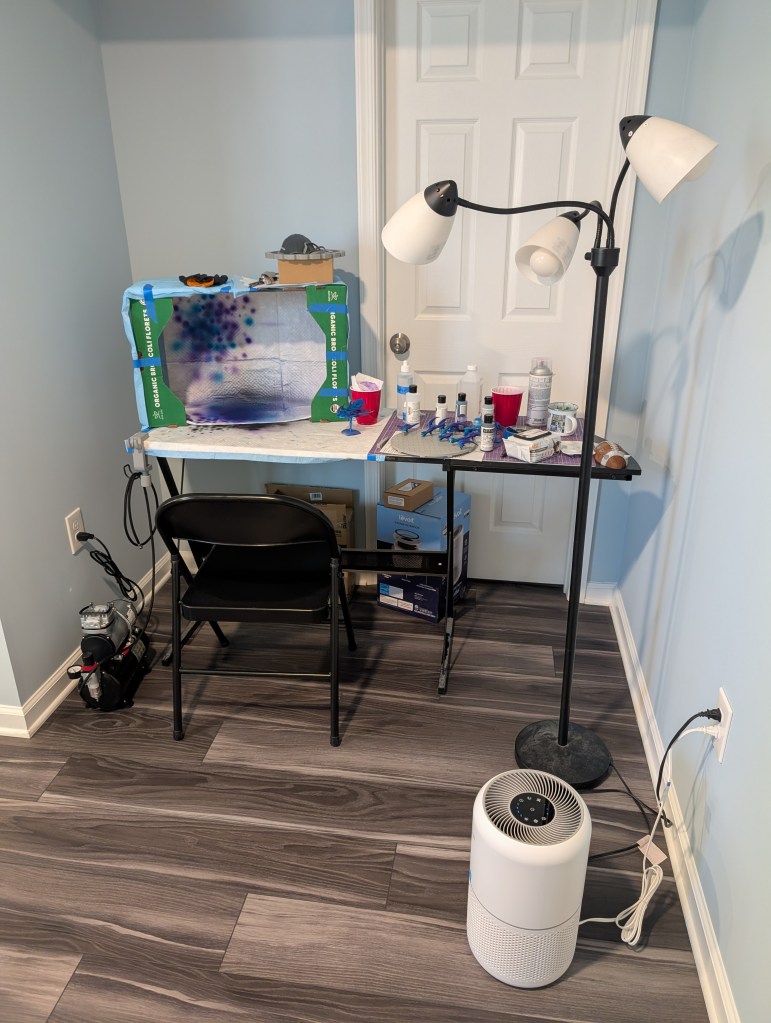
For other items purchased, I tried to buy as little as possible. Instead of getting an airbrush spray cup, I use a solo cup with a paper towel in it. I had a squirt bottle lying around that I use for water. I did buy Isopropyl Alcohol (IPA) and a bag of small dropper bottles. I really only needed 1 dropper bottle for my 9:1 water & IPA mix but figured I might need more later.
I used this setup for 2 weeks before I got concerned about breathing in paint or it lingering in the air. Say hello to the spray booth. I spent a long time researching if I needed it and what kind to get. I ended up getting this from Home Depot. Since the desk isn’t near a window, I opted for the bucket technique. I have noticed some paint in the bucket and around the tube, so I guess it’s working.

Just start talking about the project already!
Drum roll please. If you can’t tell from the pictures, the first project is Dropfleet Scourge! My Dropfleet journey began in September but really took off in October when the new edition dropped. The main idea was to do an ombre from blue to purple. This was going to be a joint project with my partner. I was going to do steps 1-3 with the airbrush, he was going to do step 4 and 5 by brush with GW Paints.
- Prime Stynylrez Black
- Zenithal Stynylrez White
- Cover in Stynylrez metalic, aka Silver
- GW Contrast Frostheart blending to GW Contrast Luxion Purple
- Weapons via GW paints

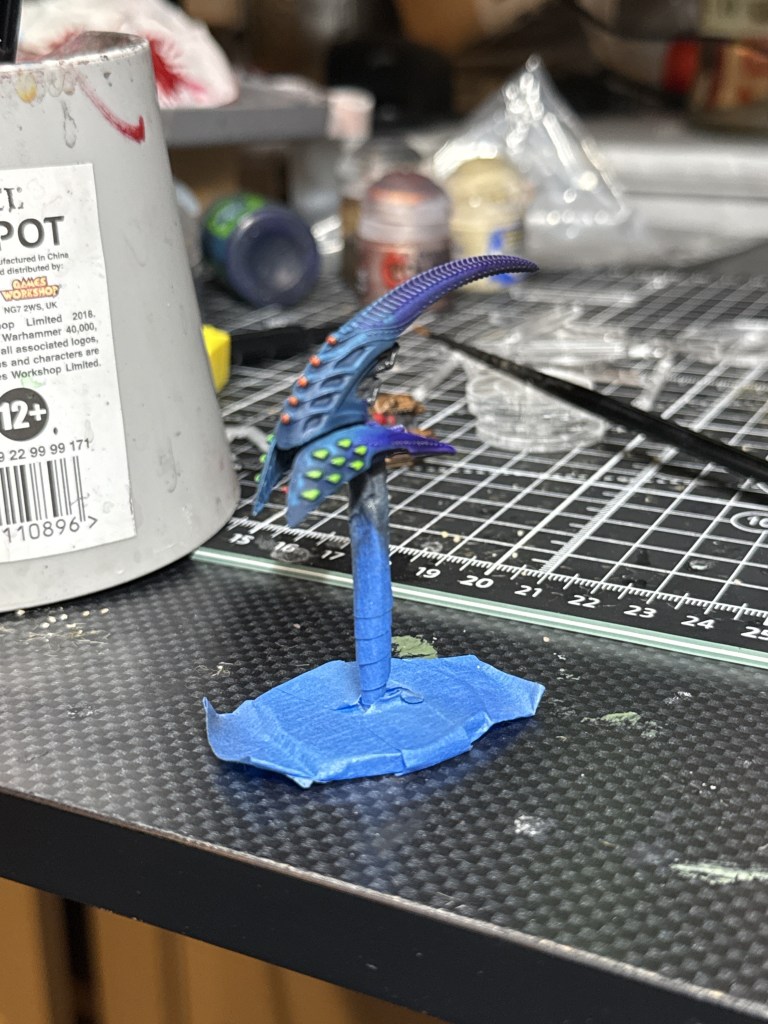

I didn’t love this for a few reasons. First, it was not as bright and vibrant as I would’ve liked. Second, there was a pretty distinct line between the colors. I was hoping for a better gradient.
Take Two
Instead of doing Step 4 with a brush, I was going to try airbrushing the contrast paints on. It worked amazingly. GW Contrast paints work so well with an airbrush. No thinning needed! My only complaint is the pour-style pot as opposed to dropper bottle. Luckily I was airbrushing a lot of at one time and didn’t waste a lot of paint.
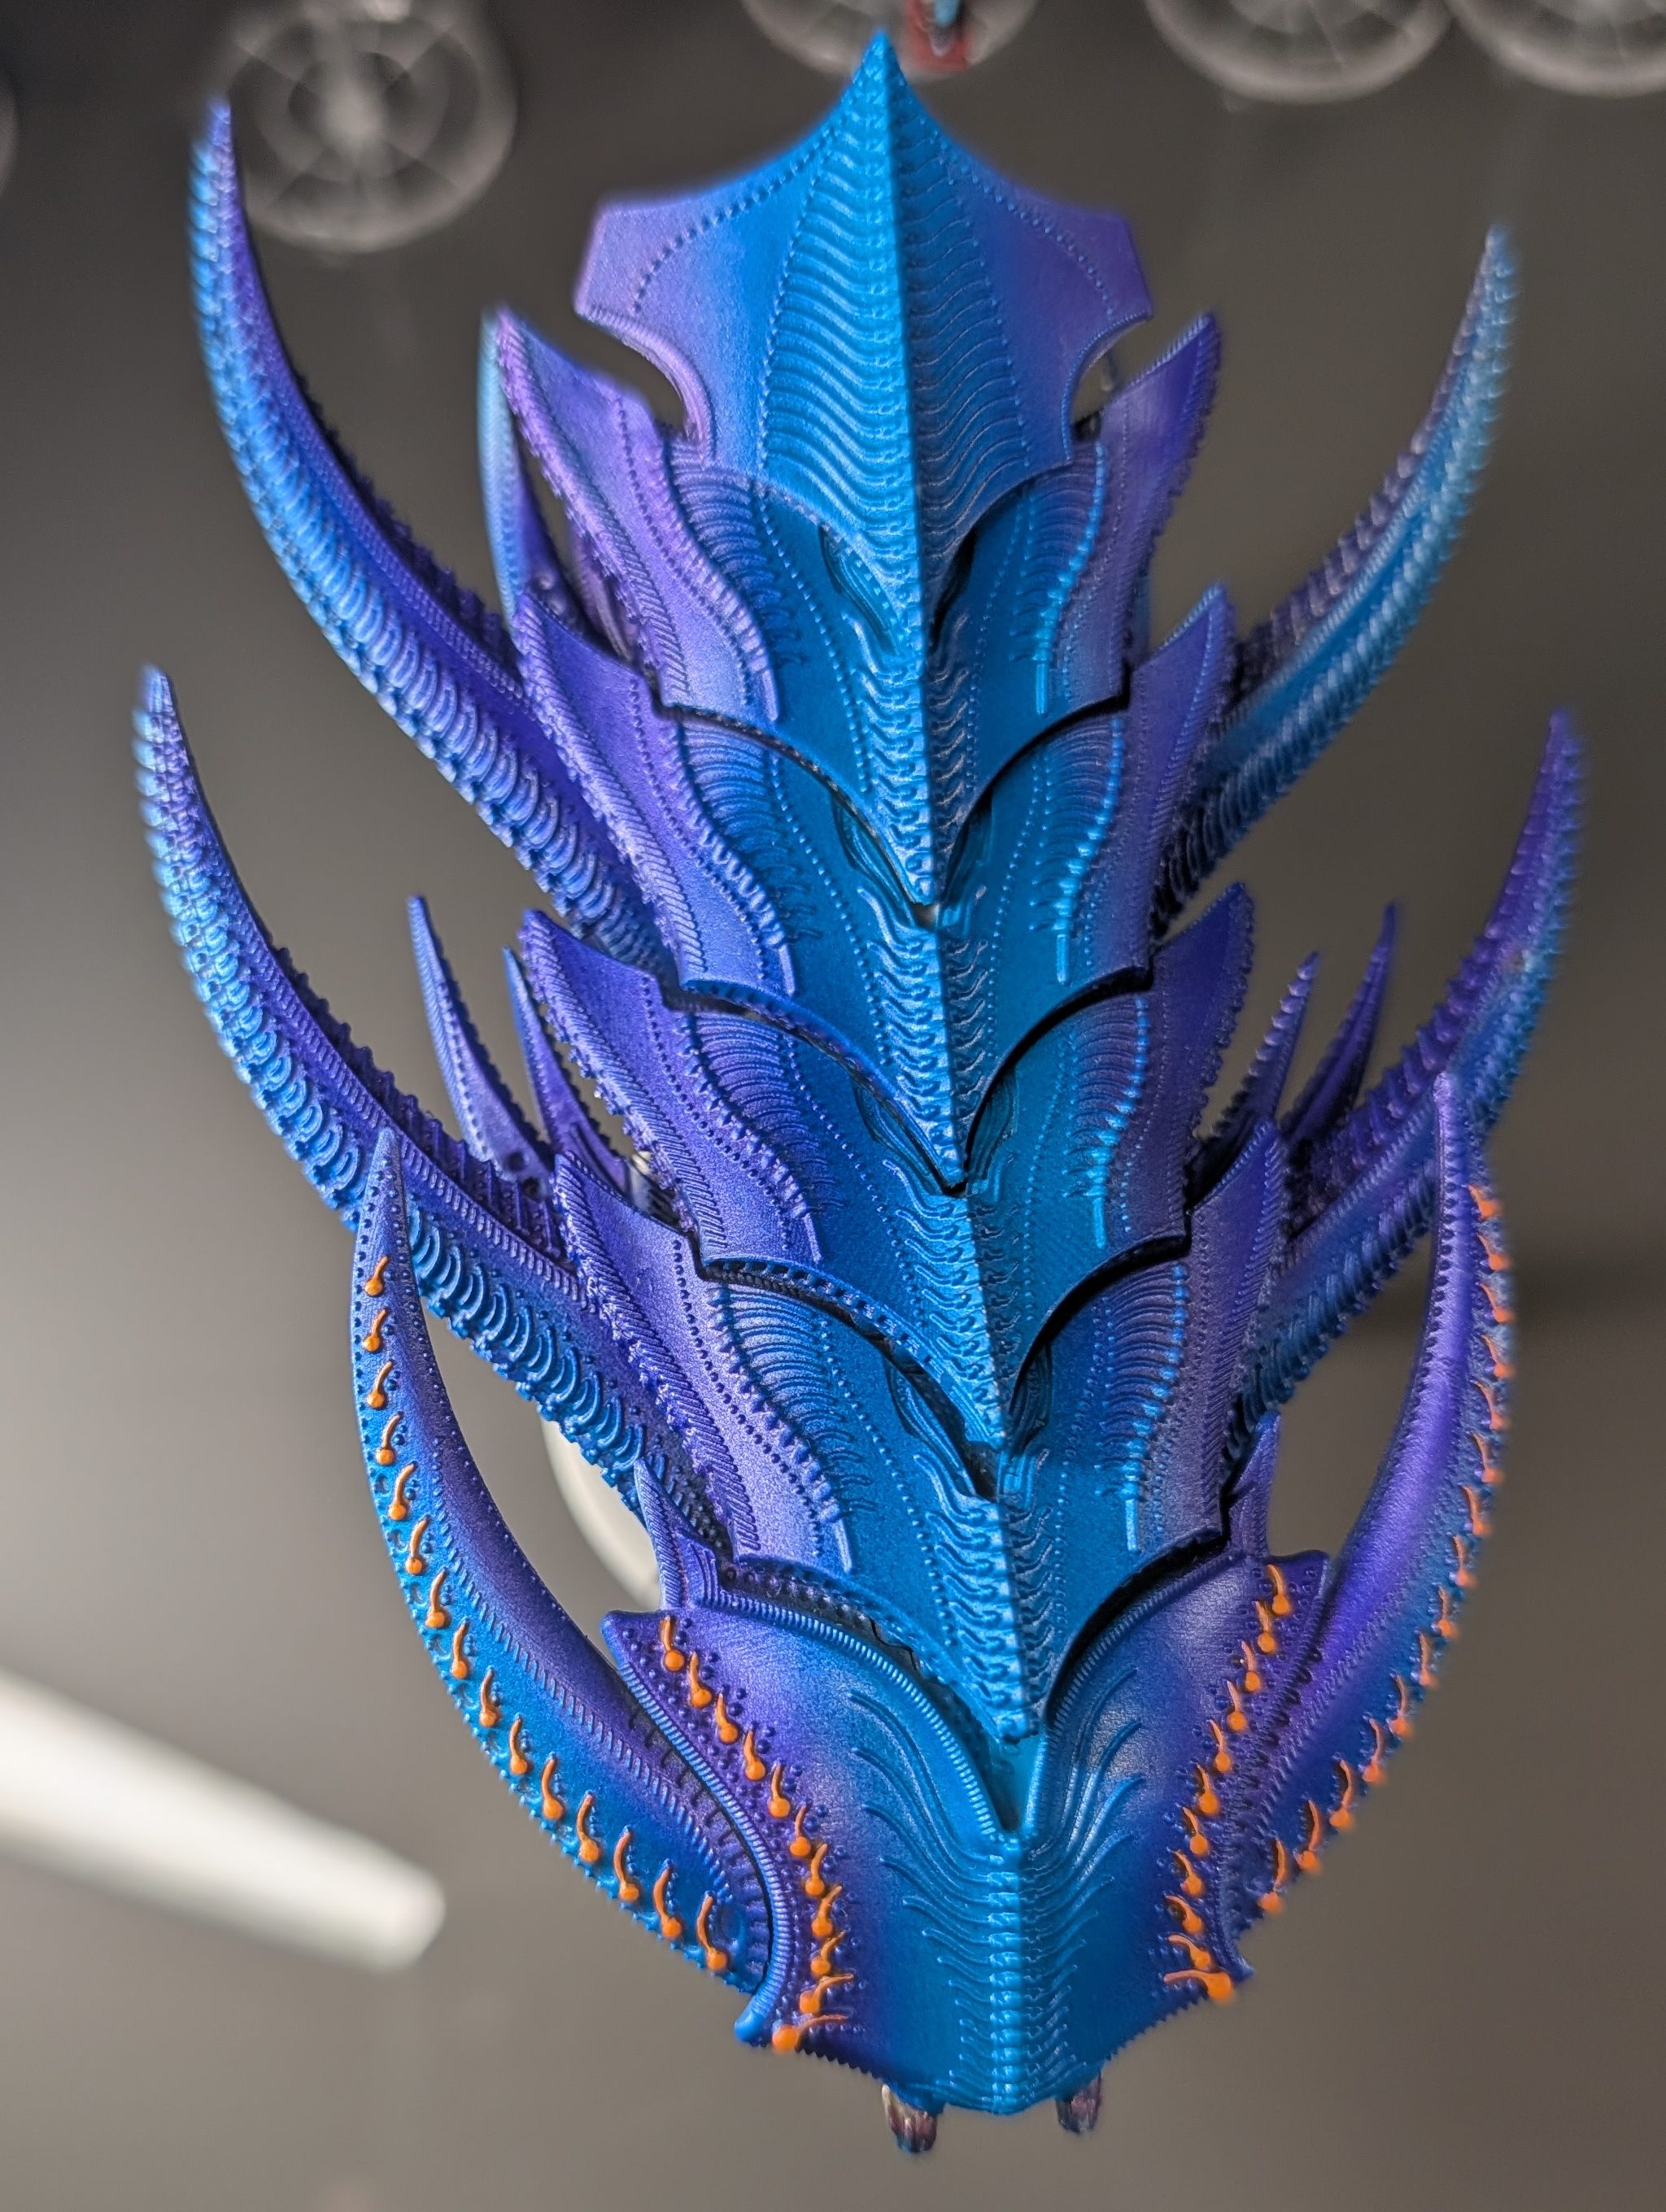
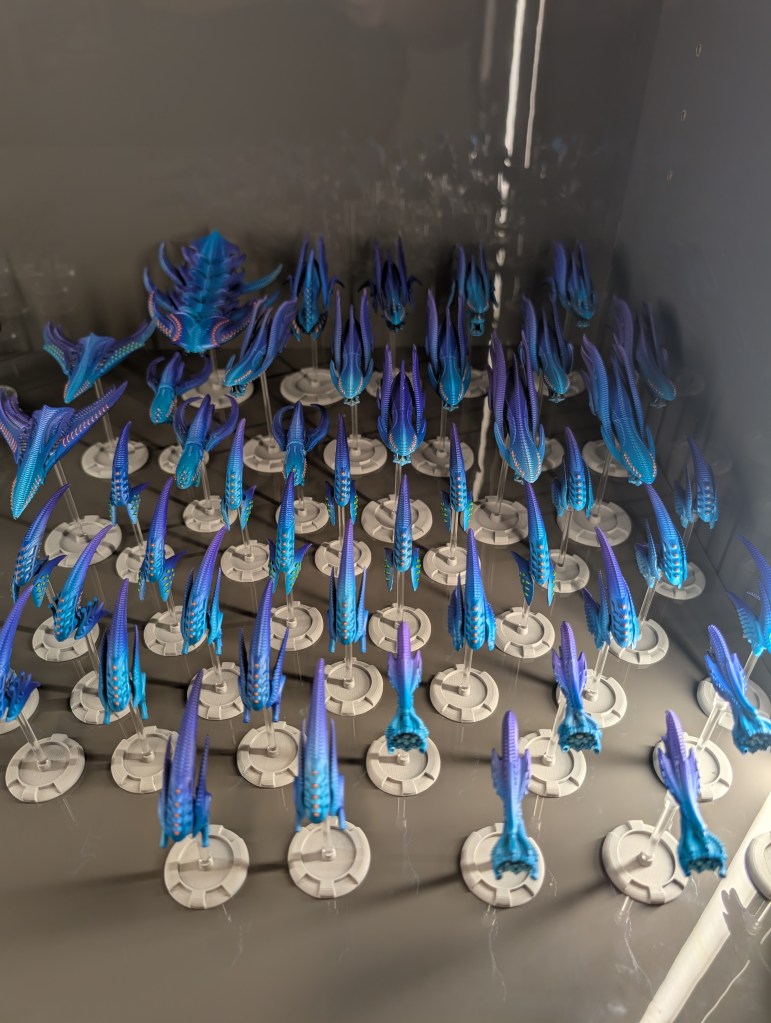
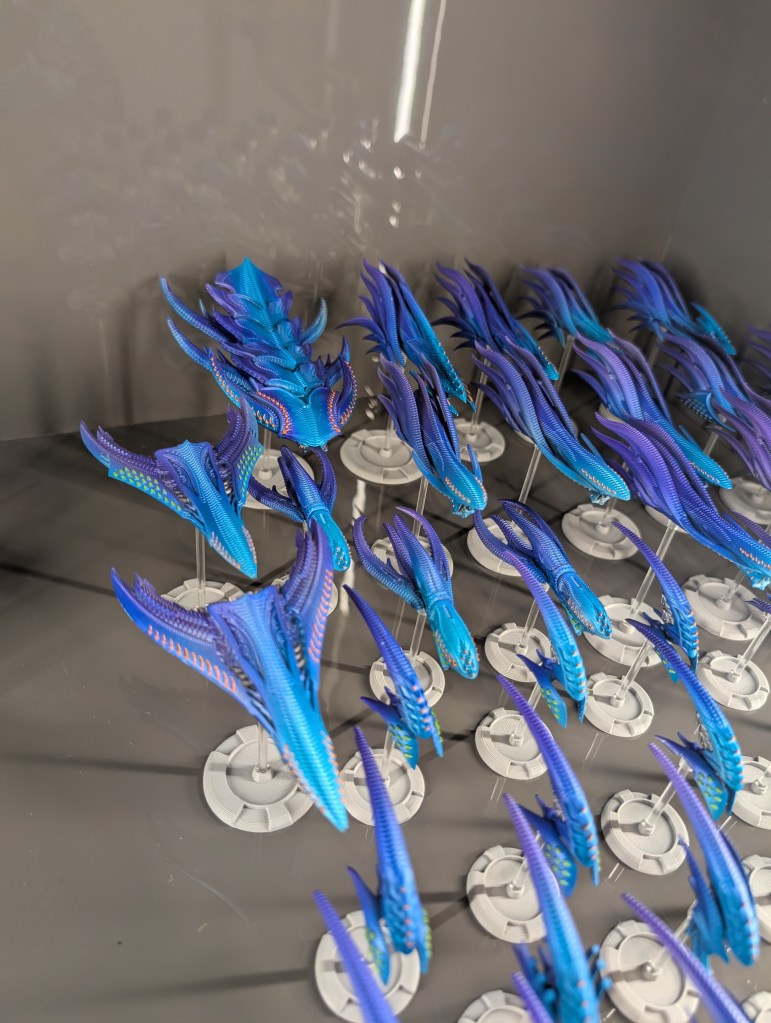
For the Daemon, Wyvern and Sphinx I went with Frostheart in the middle/front and Luxion more on the edges. I was very pleased with how the Daemon turned out.
This is a little over 3000 points. Way larger than a standard game or event. Here’s how the whole fleet looks together.
Closing Thoughts
Overall, I’m happy with how this turned out. I set my expectations really low in terms of my airbrushing ability. My job was priming and a base layer of silver. That felt very manageable for someone airbrushing for the first time. Clogging was an issue at first but that was very much user error.
I was very nervous about the gradient but surprised myself with how easy it was. I very quickly built confidence and tackled the Daemon, Wyvern and Sphinx last.
This was probably the best first project I could’ve asked for. Didn’t need to be super precise. Scourge are more living life-form-esque so I didn’t feel pressured to have them all look exactly alike. I also will 99% of the time be playing at home. That might change in the future, but we’ll see.
I’m sure I’ll be adding more ships to the fleet in the future, but for now I’m calling this project DONE!

Leave a comment