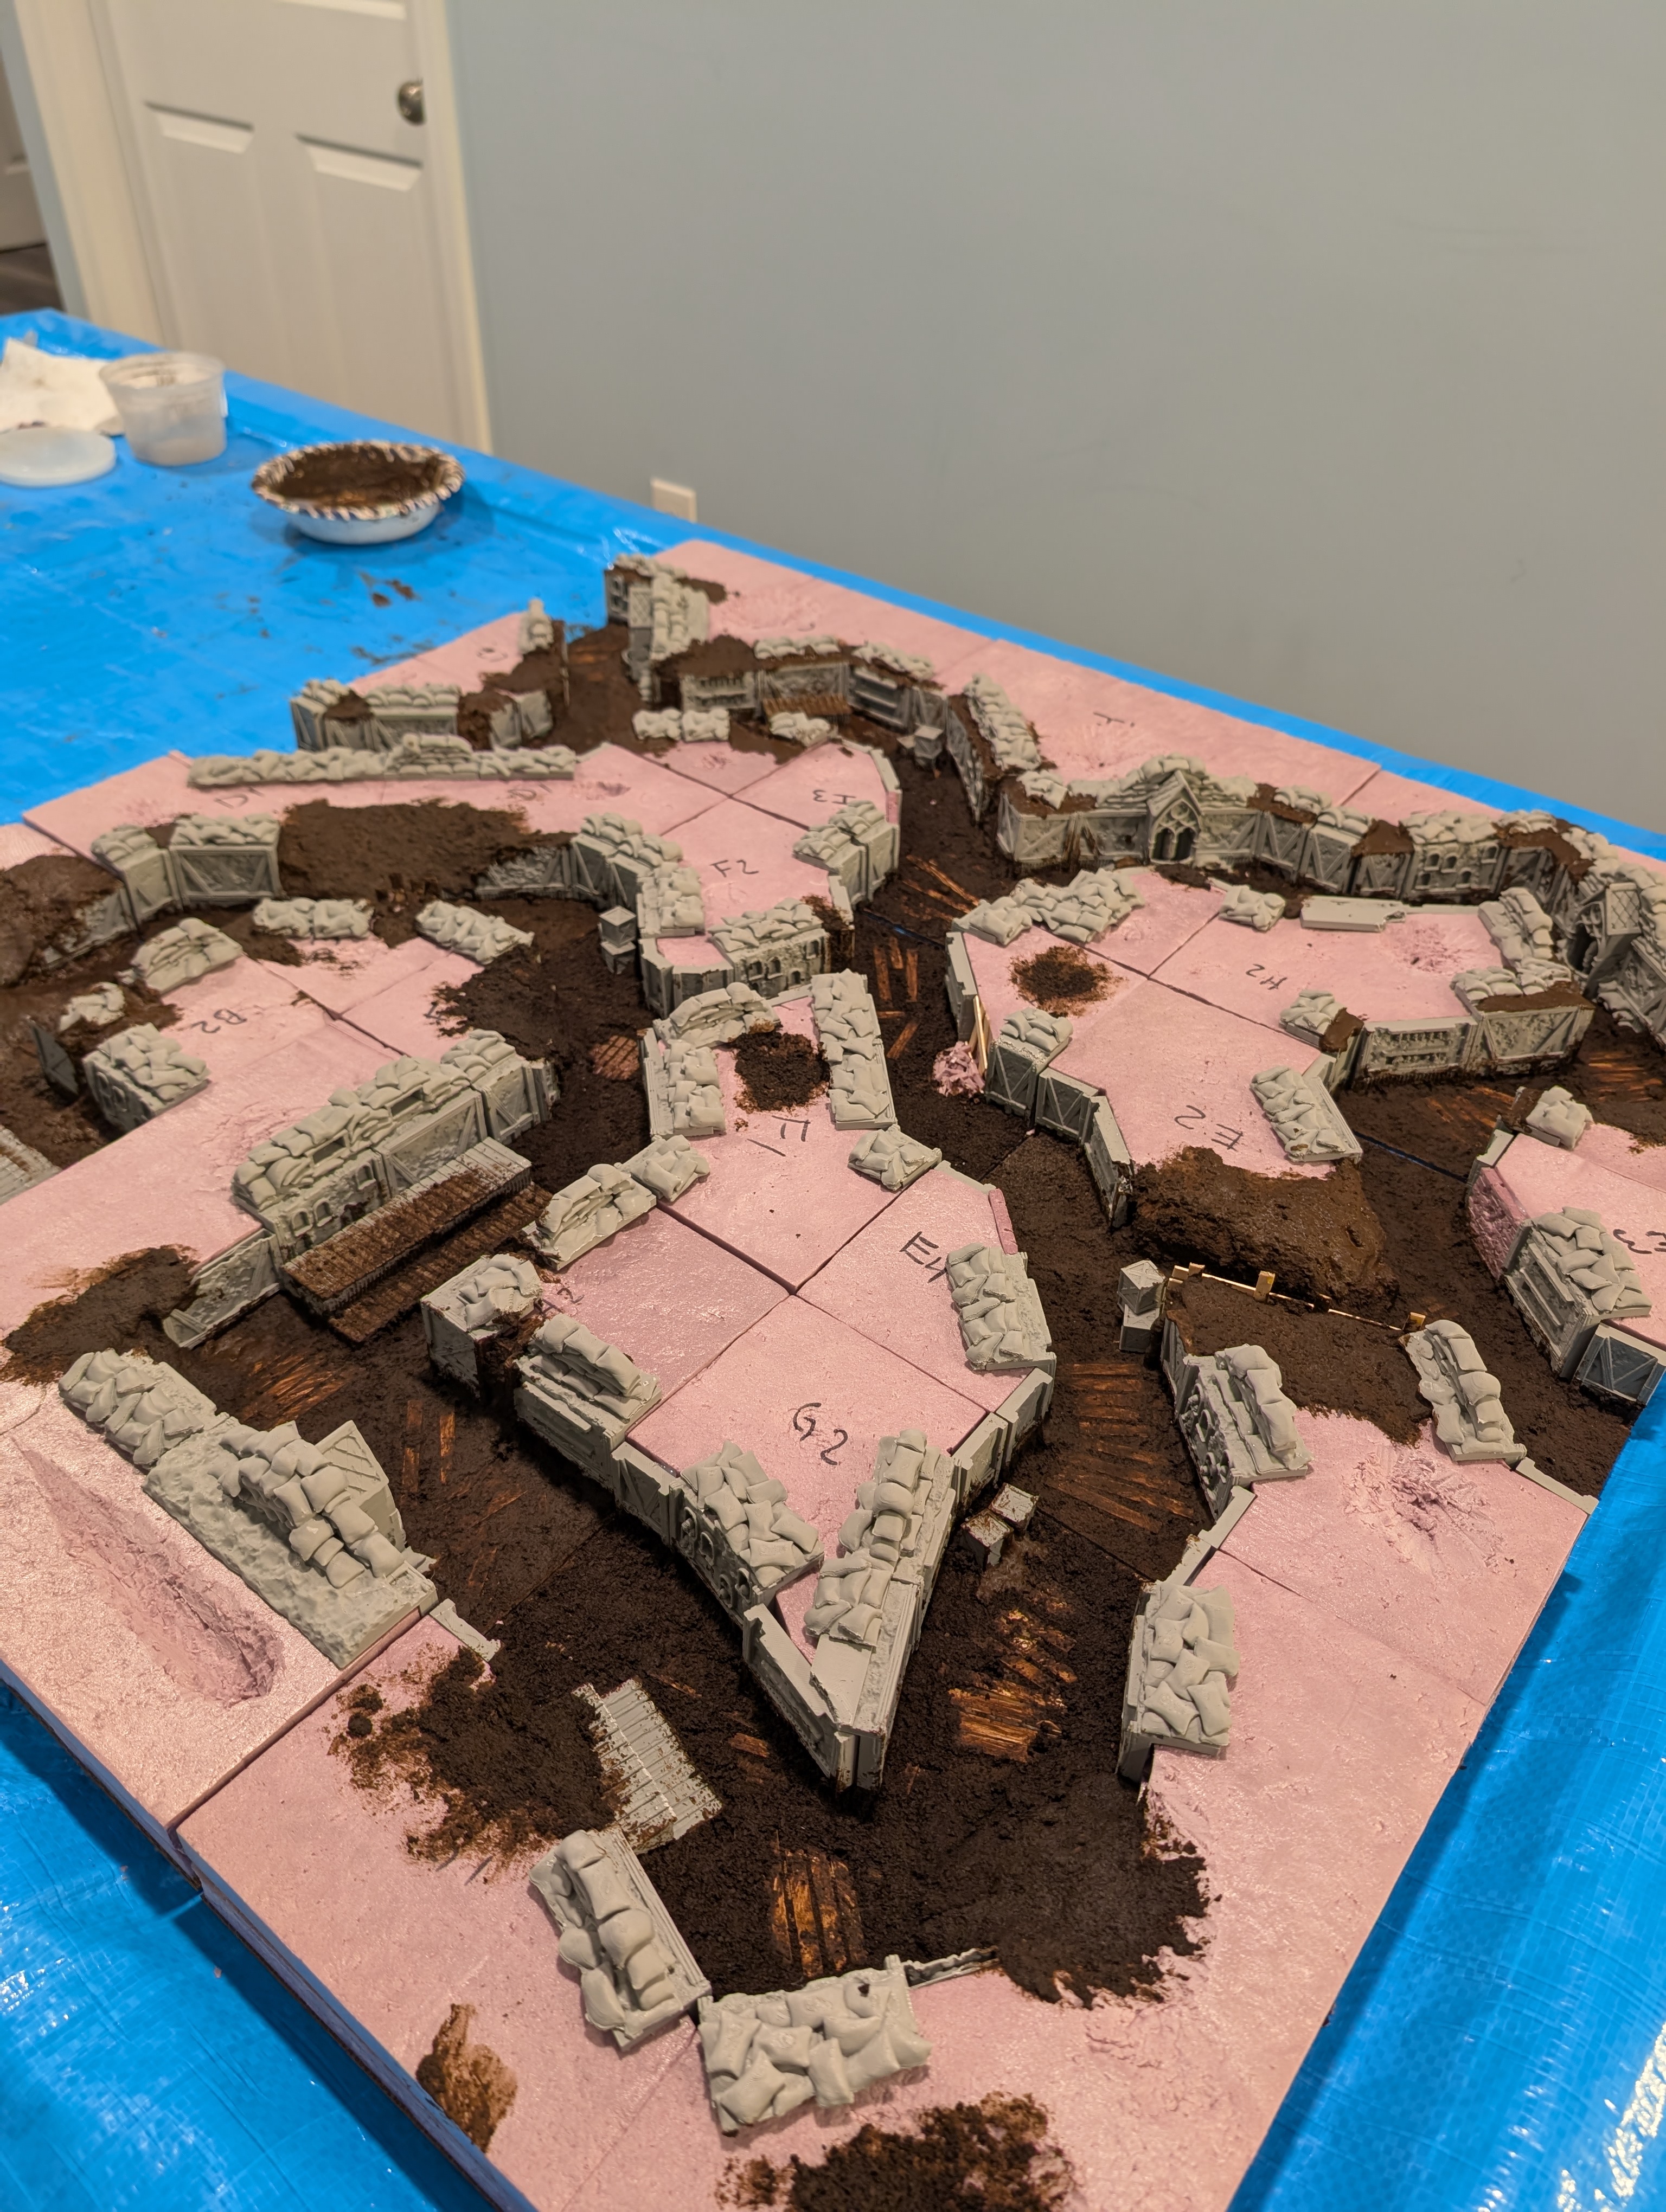
As the title says, this is Part 2 of building a Trench Crusade Board. If you haven’t read Part 1 yet, head here. Not much further intro needed, lets dive in!
Dirt / Mud Mix
After scouring the internet for the perfect dirt/mud mix, I ended up kind of winging it. The main components are brown tile grout, coffee grounds, PVA glue, water, Isopropyl Alcohol and Burnt Umber paint. I spent about a month taking my used coffee grounds, drying it in the oven and storing it in jars. My first drying attempt was setting the oven to 300°F, spreading the grounds on parchment paper, baking for 10 minutes, stirring, then baking for another 10 minutes. My first few batches grew mold…. I realized I was letting it cool down too long on the parchment paper and it was re-moistening the grounds plus it wouldn’t hurt to crank up the heat a bit.
To ensure full dryness, I set the oven up to 350°F, spread the grounds directly on the baking sheet, baked for 20 minutes, stirred and baked for another 20. Have not had any molding issues and its been about 6 months as of this writing.
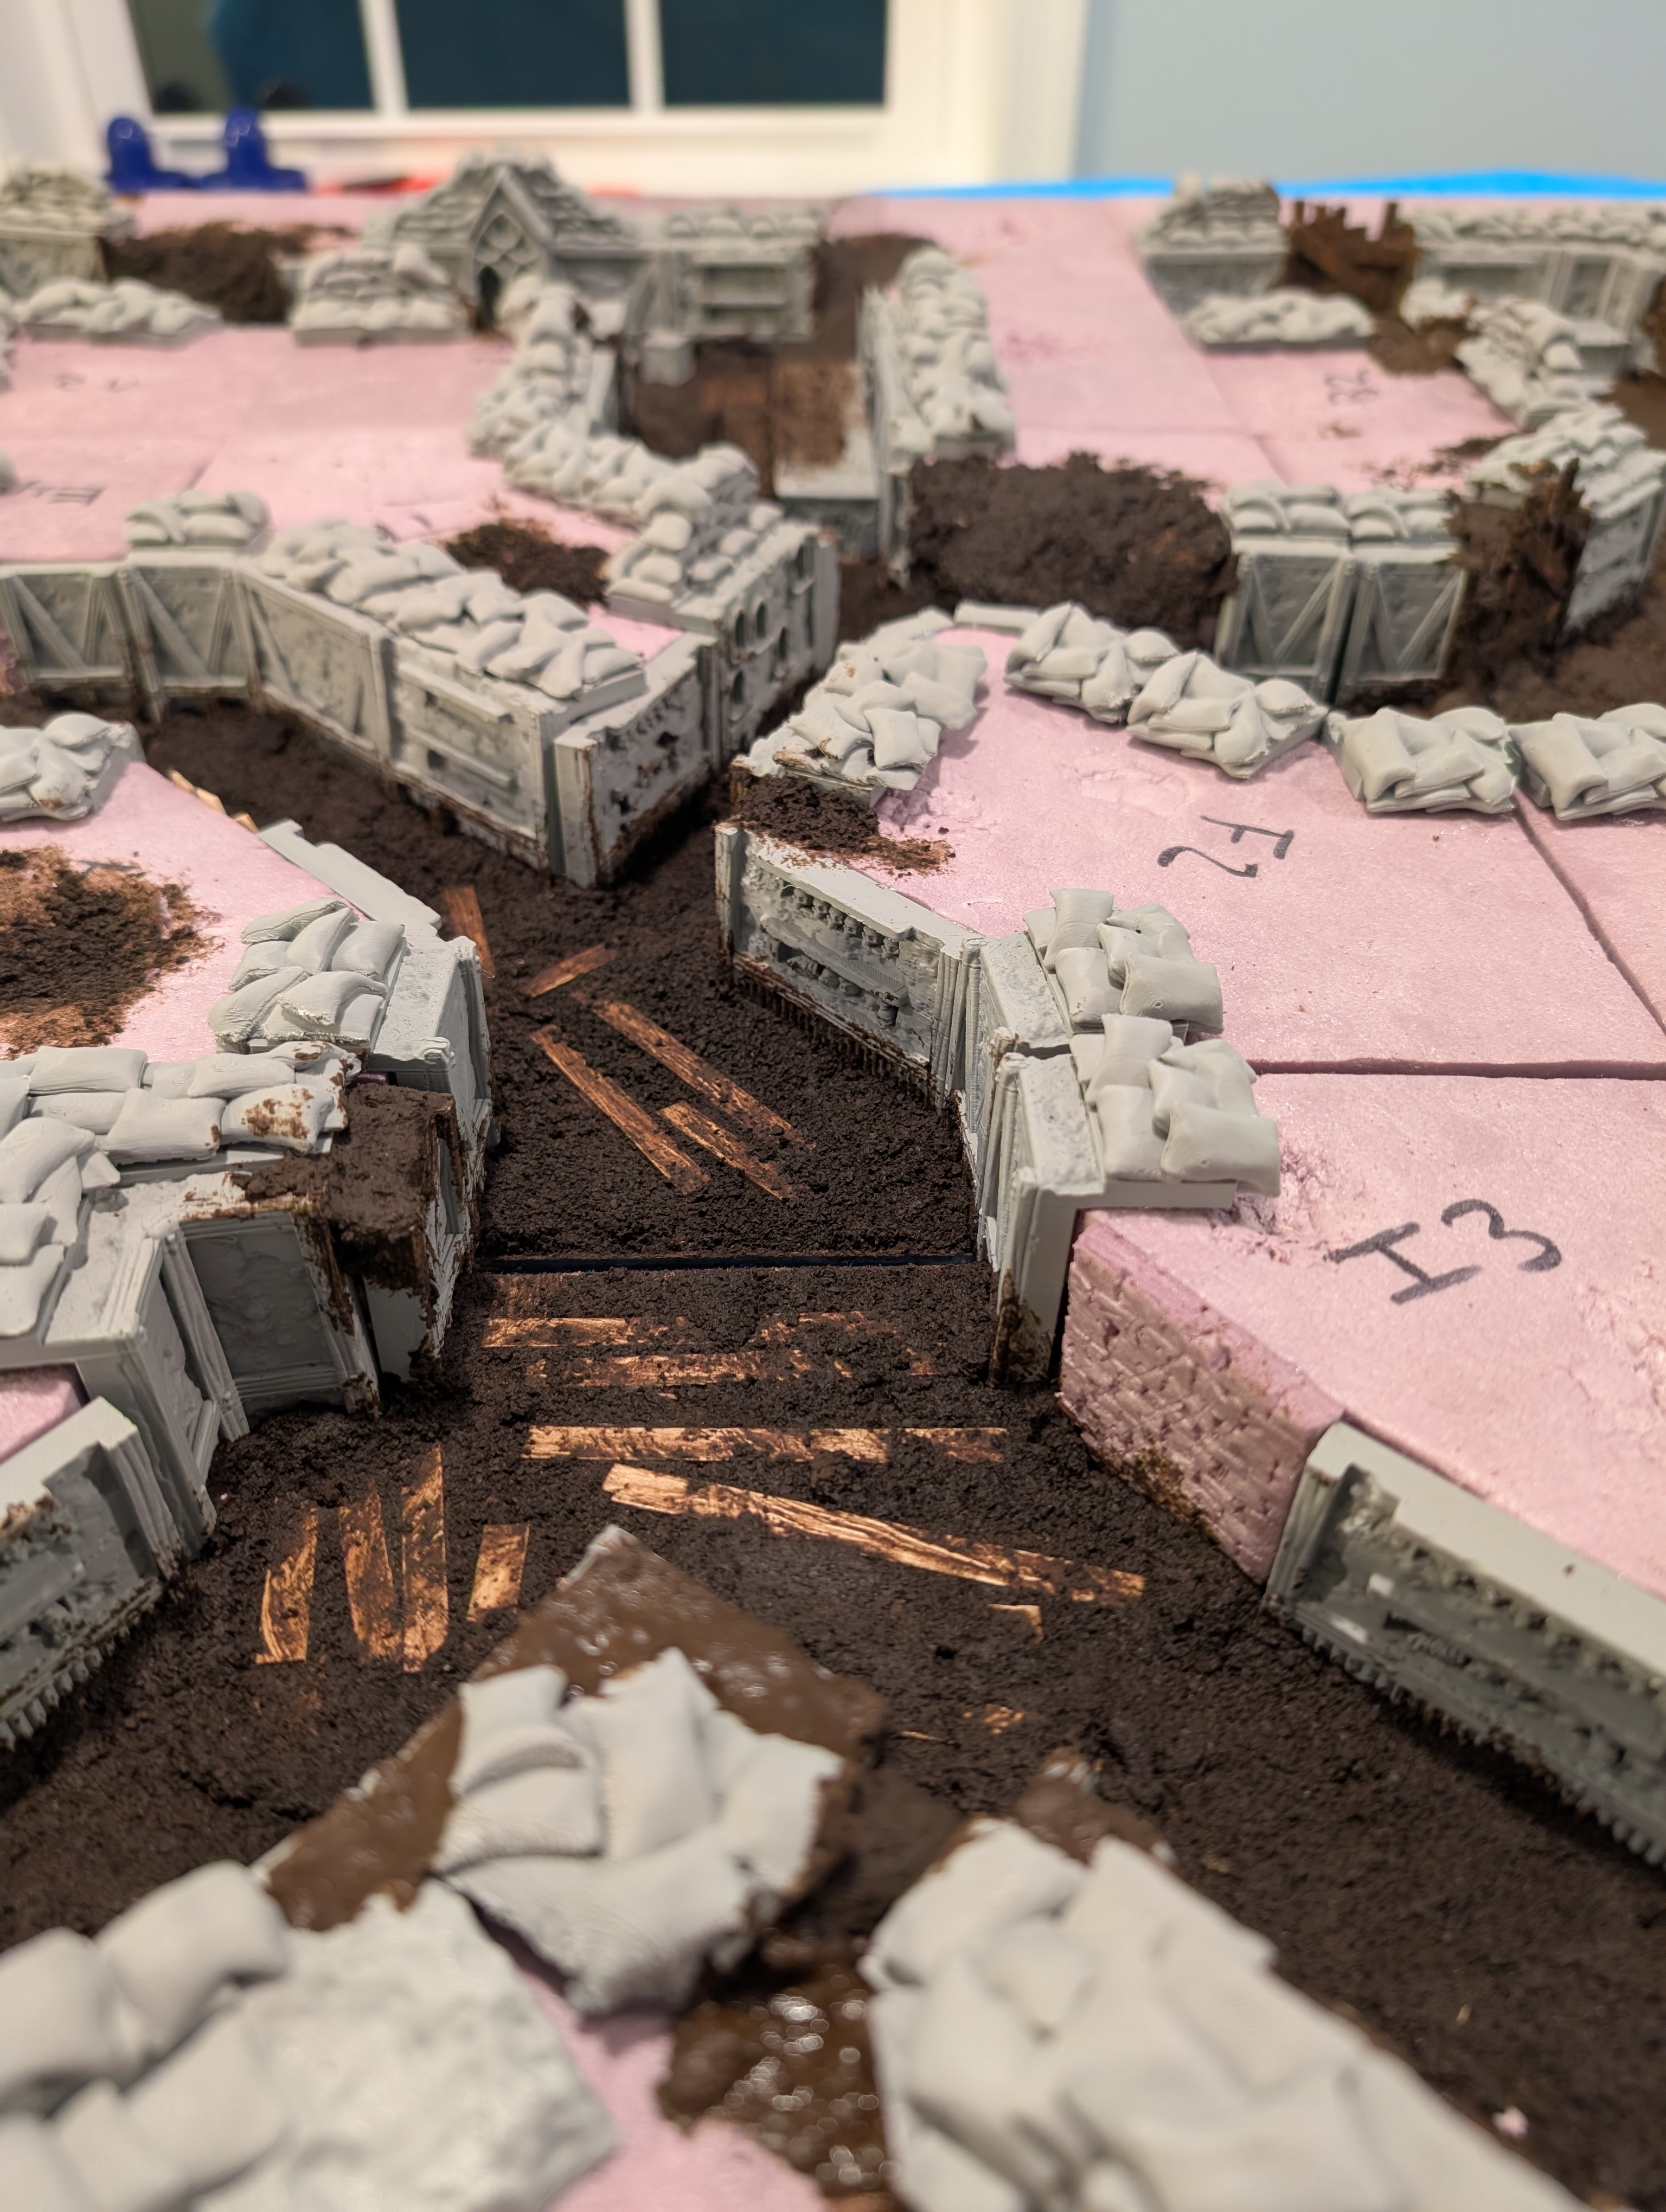
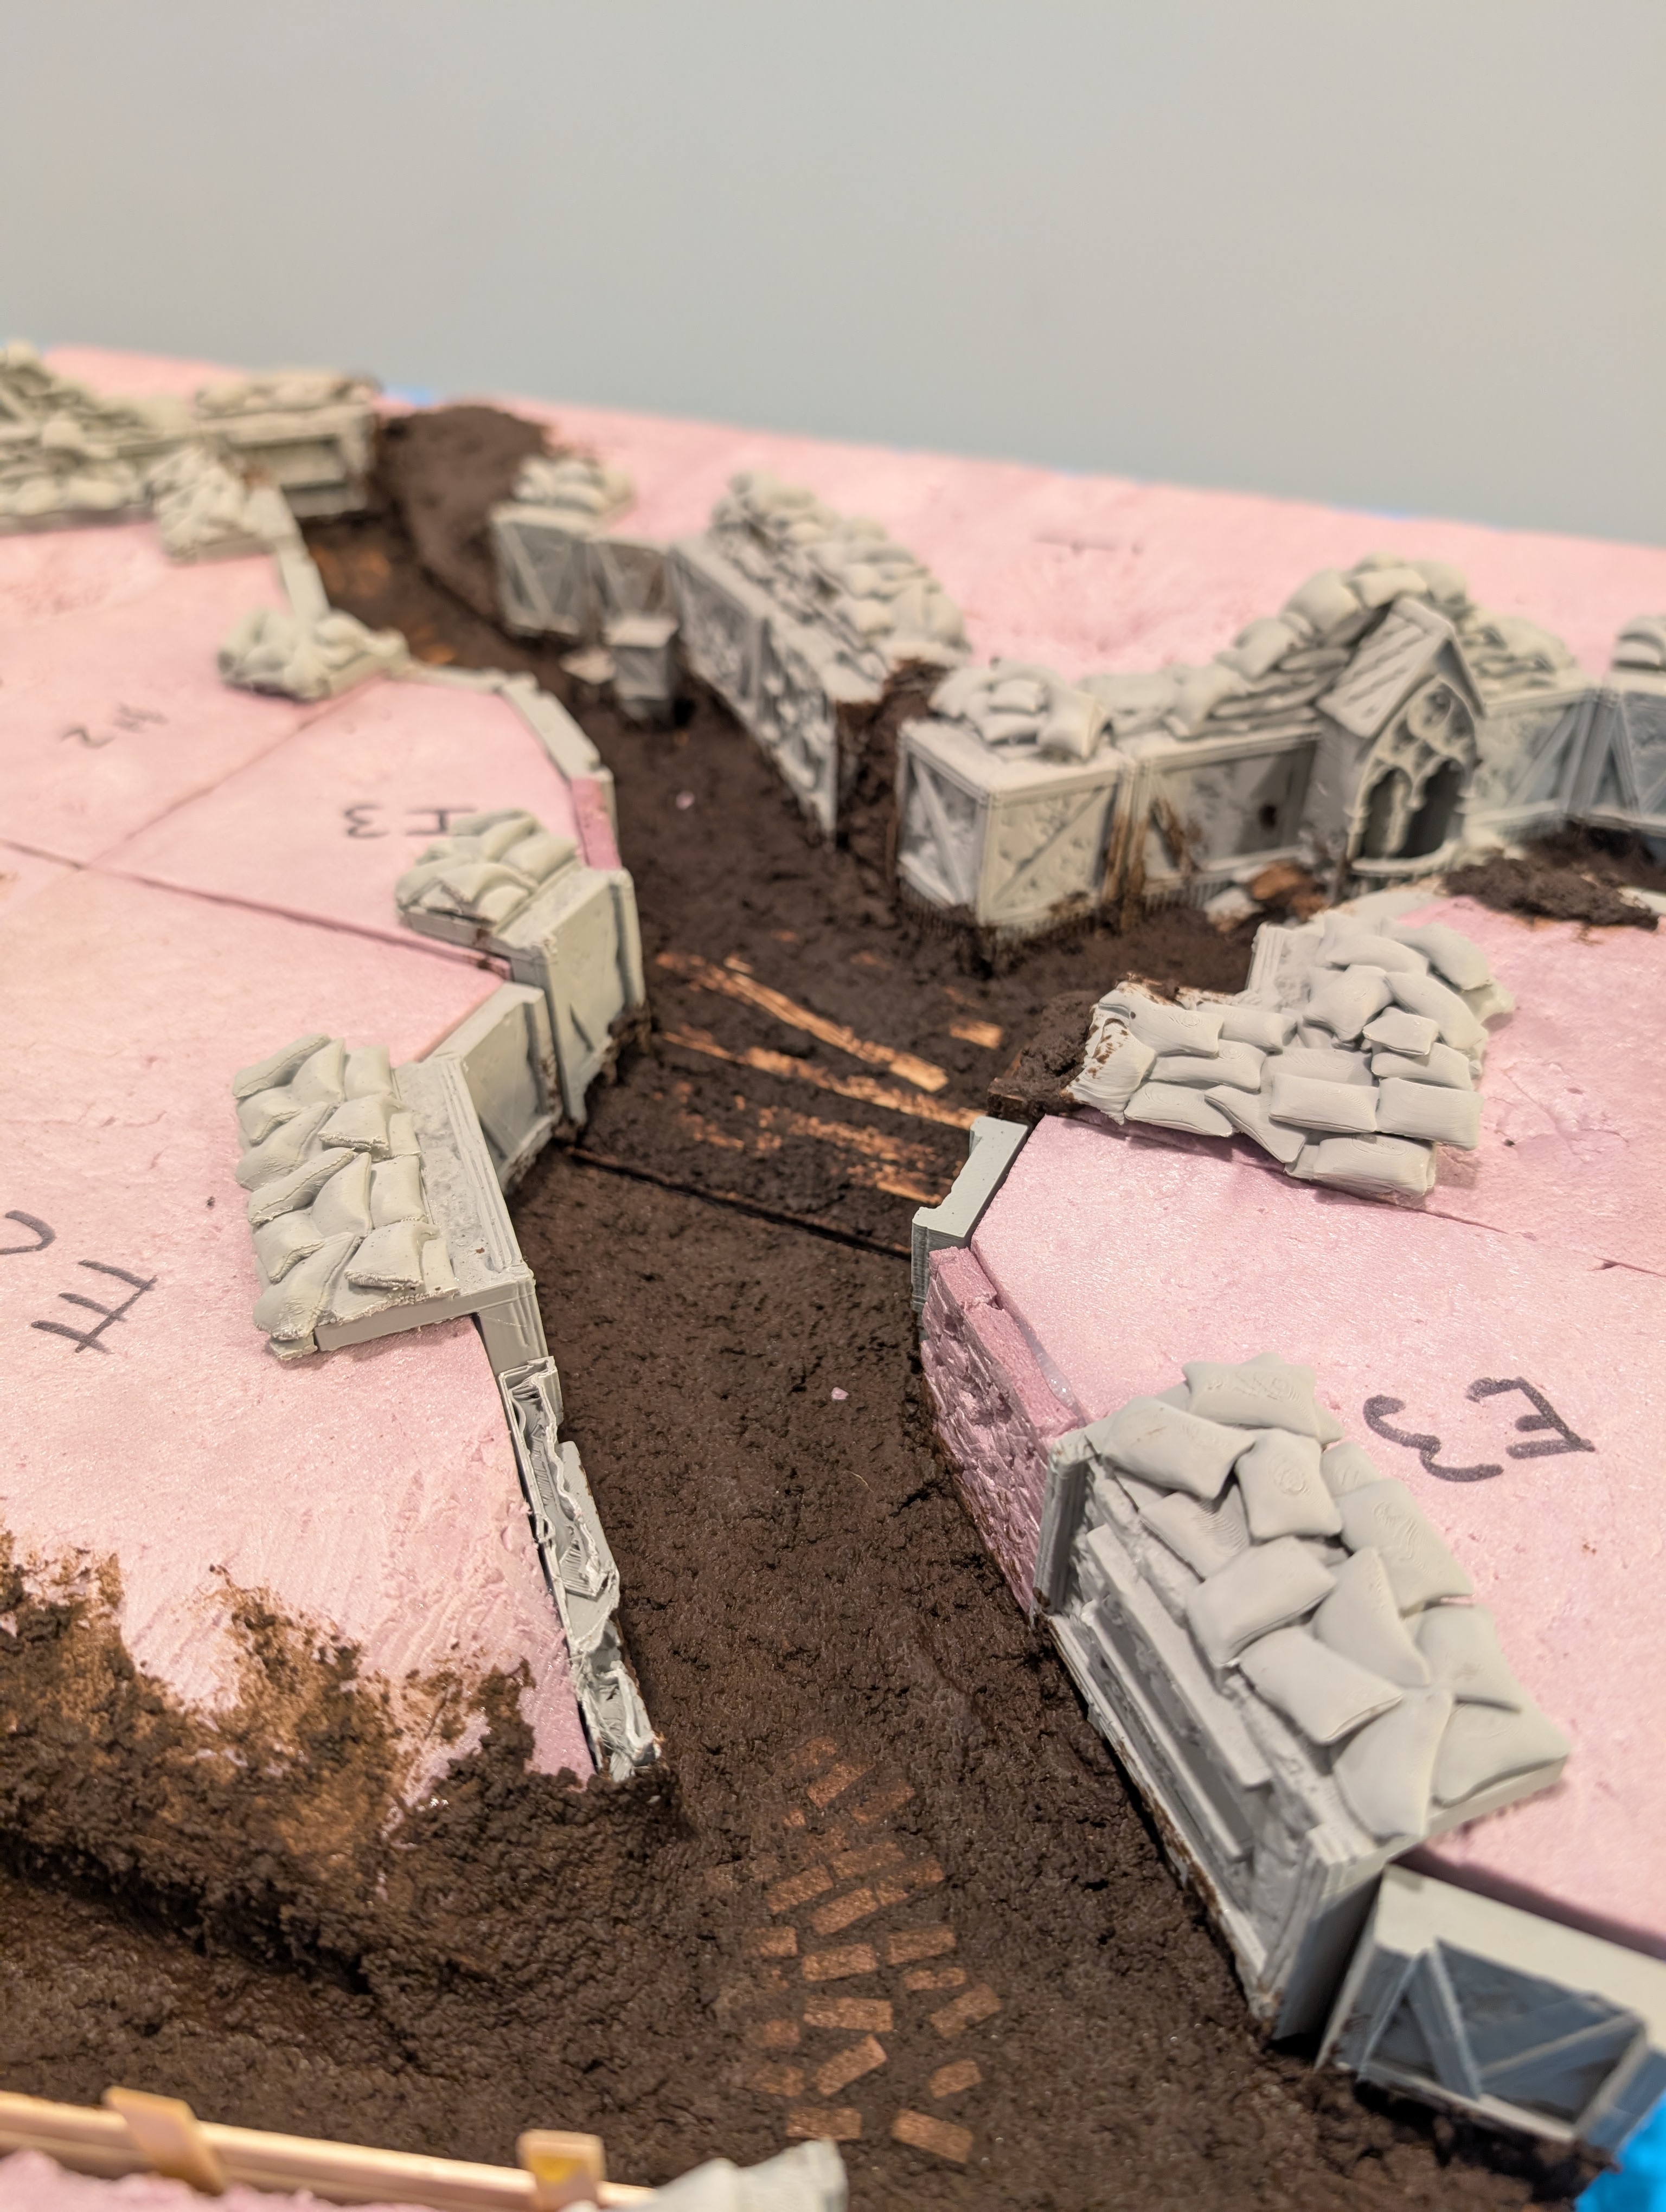
When I first starting applying the dirt mix, I didn’t combine the tile grout and coffee grounds into 1 big container. I was spooning small amounts into a bowl and adding water, glue and paint. This led to some of the trenches looking different. The ground level dirt also looks different. I’m going to chalk this up to learning pains…
Some people are very precise and give measurements. I went off of vibes and opted for a more liquidy mix so that it didn’t dry as fast in my bowl and was easier to spread.
Magnetic Dirt
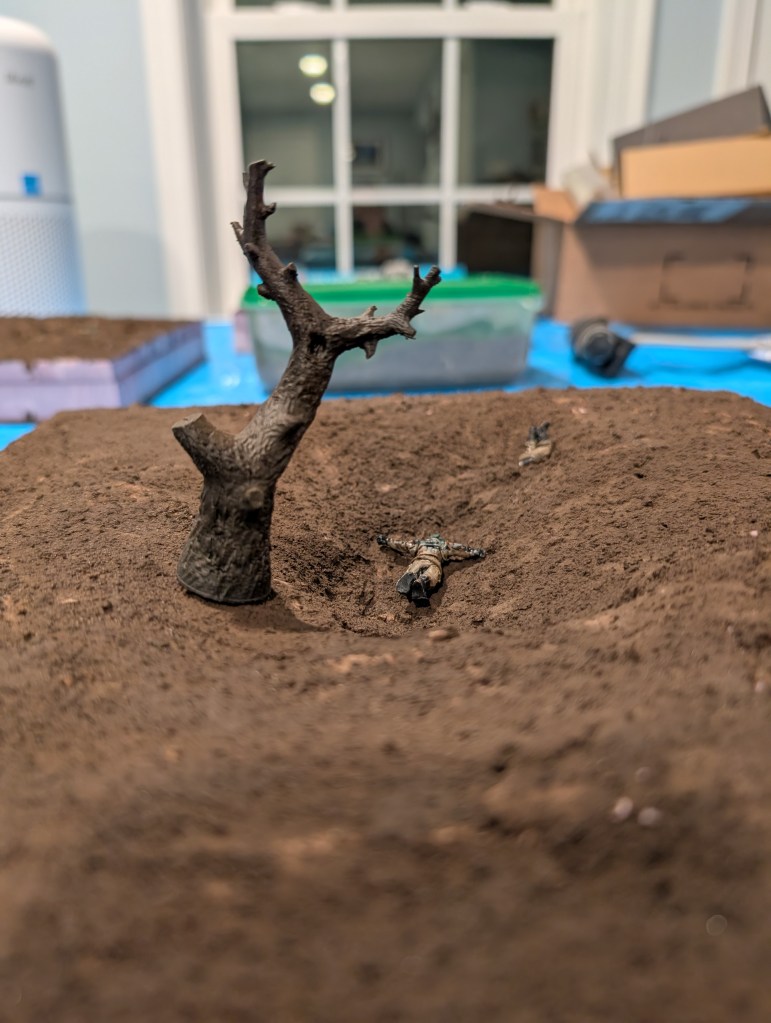
The inspiration for magnetic dirt is from RP Archives. Check out his videos, they’re pretty neat! The general jist is that you mix in iron shavings into your dirt mix. Then put magnets on all your stuff that goes on top. I ended up using a ratio of 2 spoons dirt/mud mix with 1 spoon iron shavings. I’m very unprecise so if I had too much water in my bowl, I added more mud mix. I haven’t fully tested it yet, but the results are very promising! The MEBSG mini from GW has a Litko 28mm magnet and stayed very well. This tree has 2 6x3mm magnets.
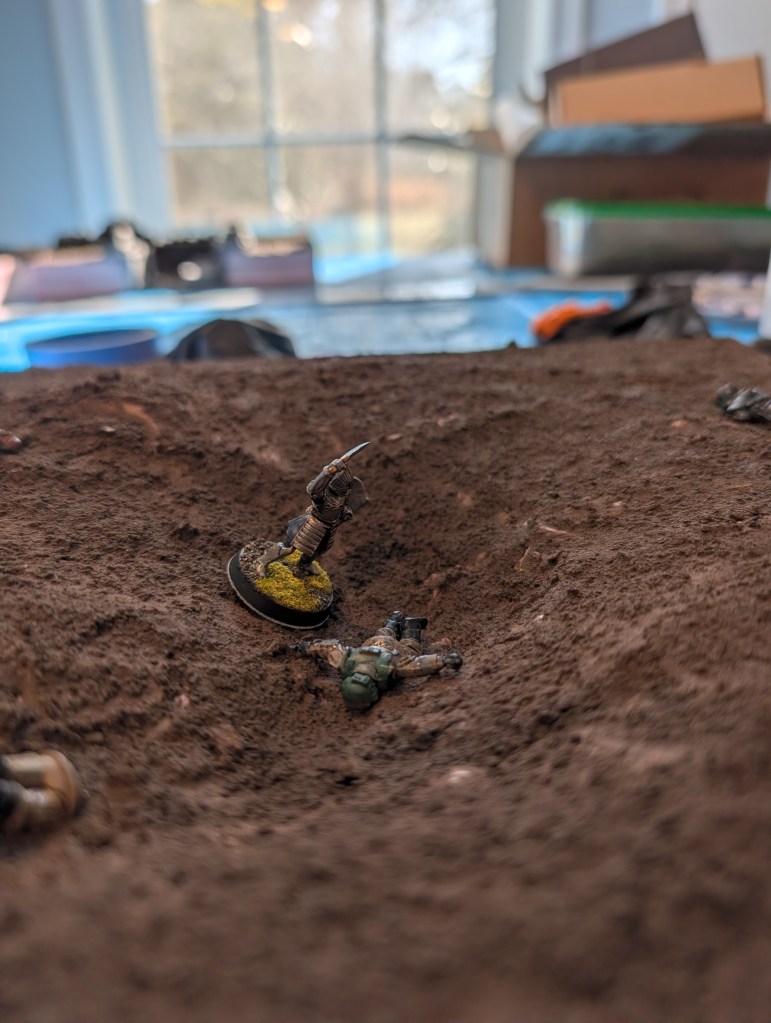
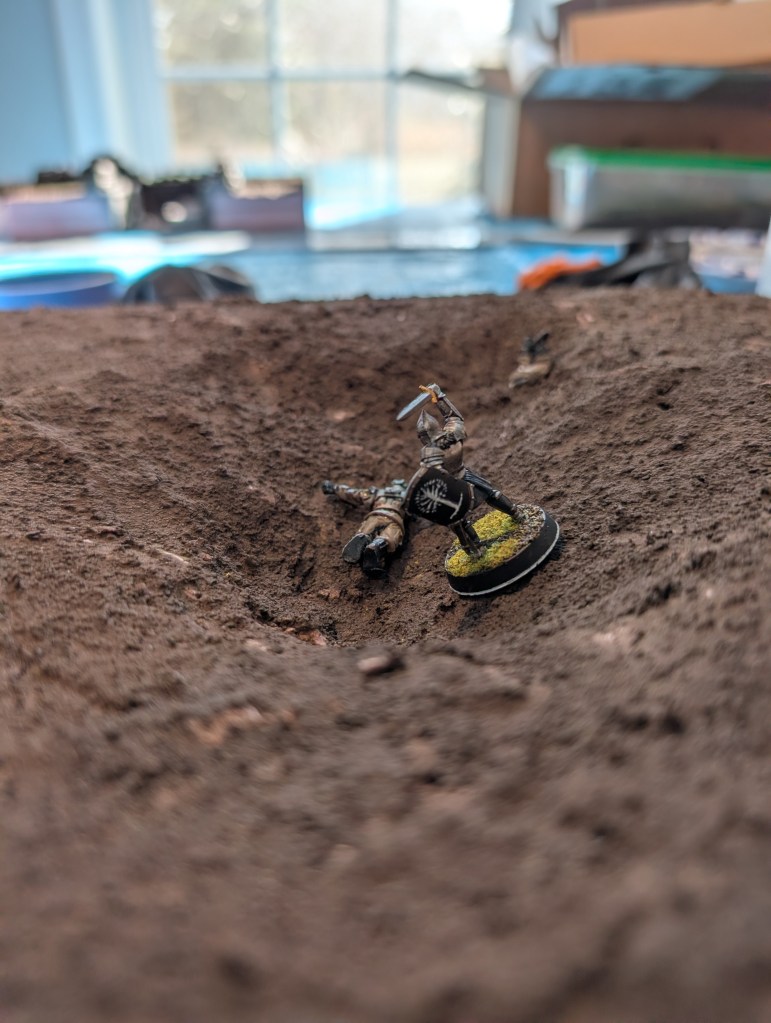
My intent is to have it hold pieces of terrain in place. That way, when someone bumps into the table, a million things don’t fall over. Items that are more top heavy or taller might still have some difficulty but a wider base would help eliminate that. An added bonus is having a mini on a steep incline, it looks very cool!
Painting
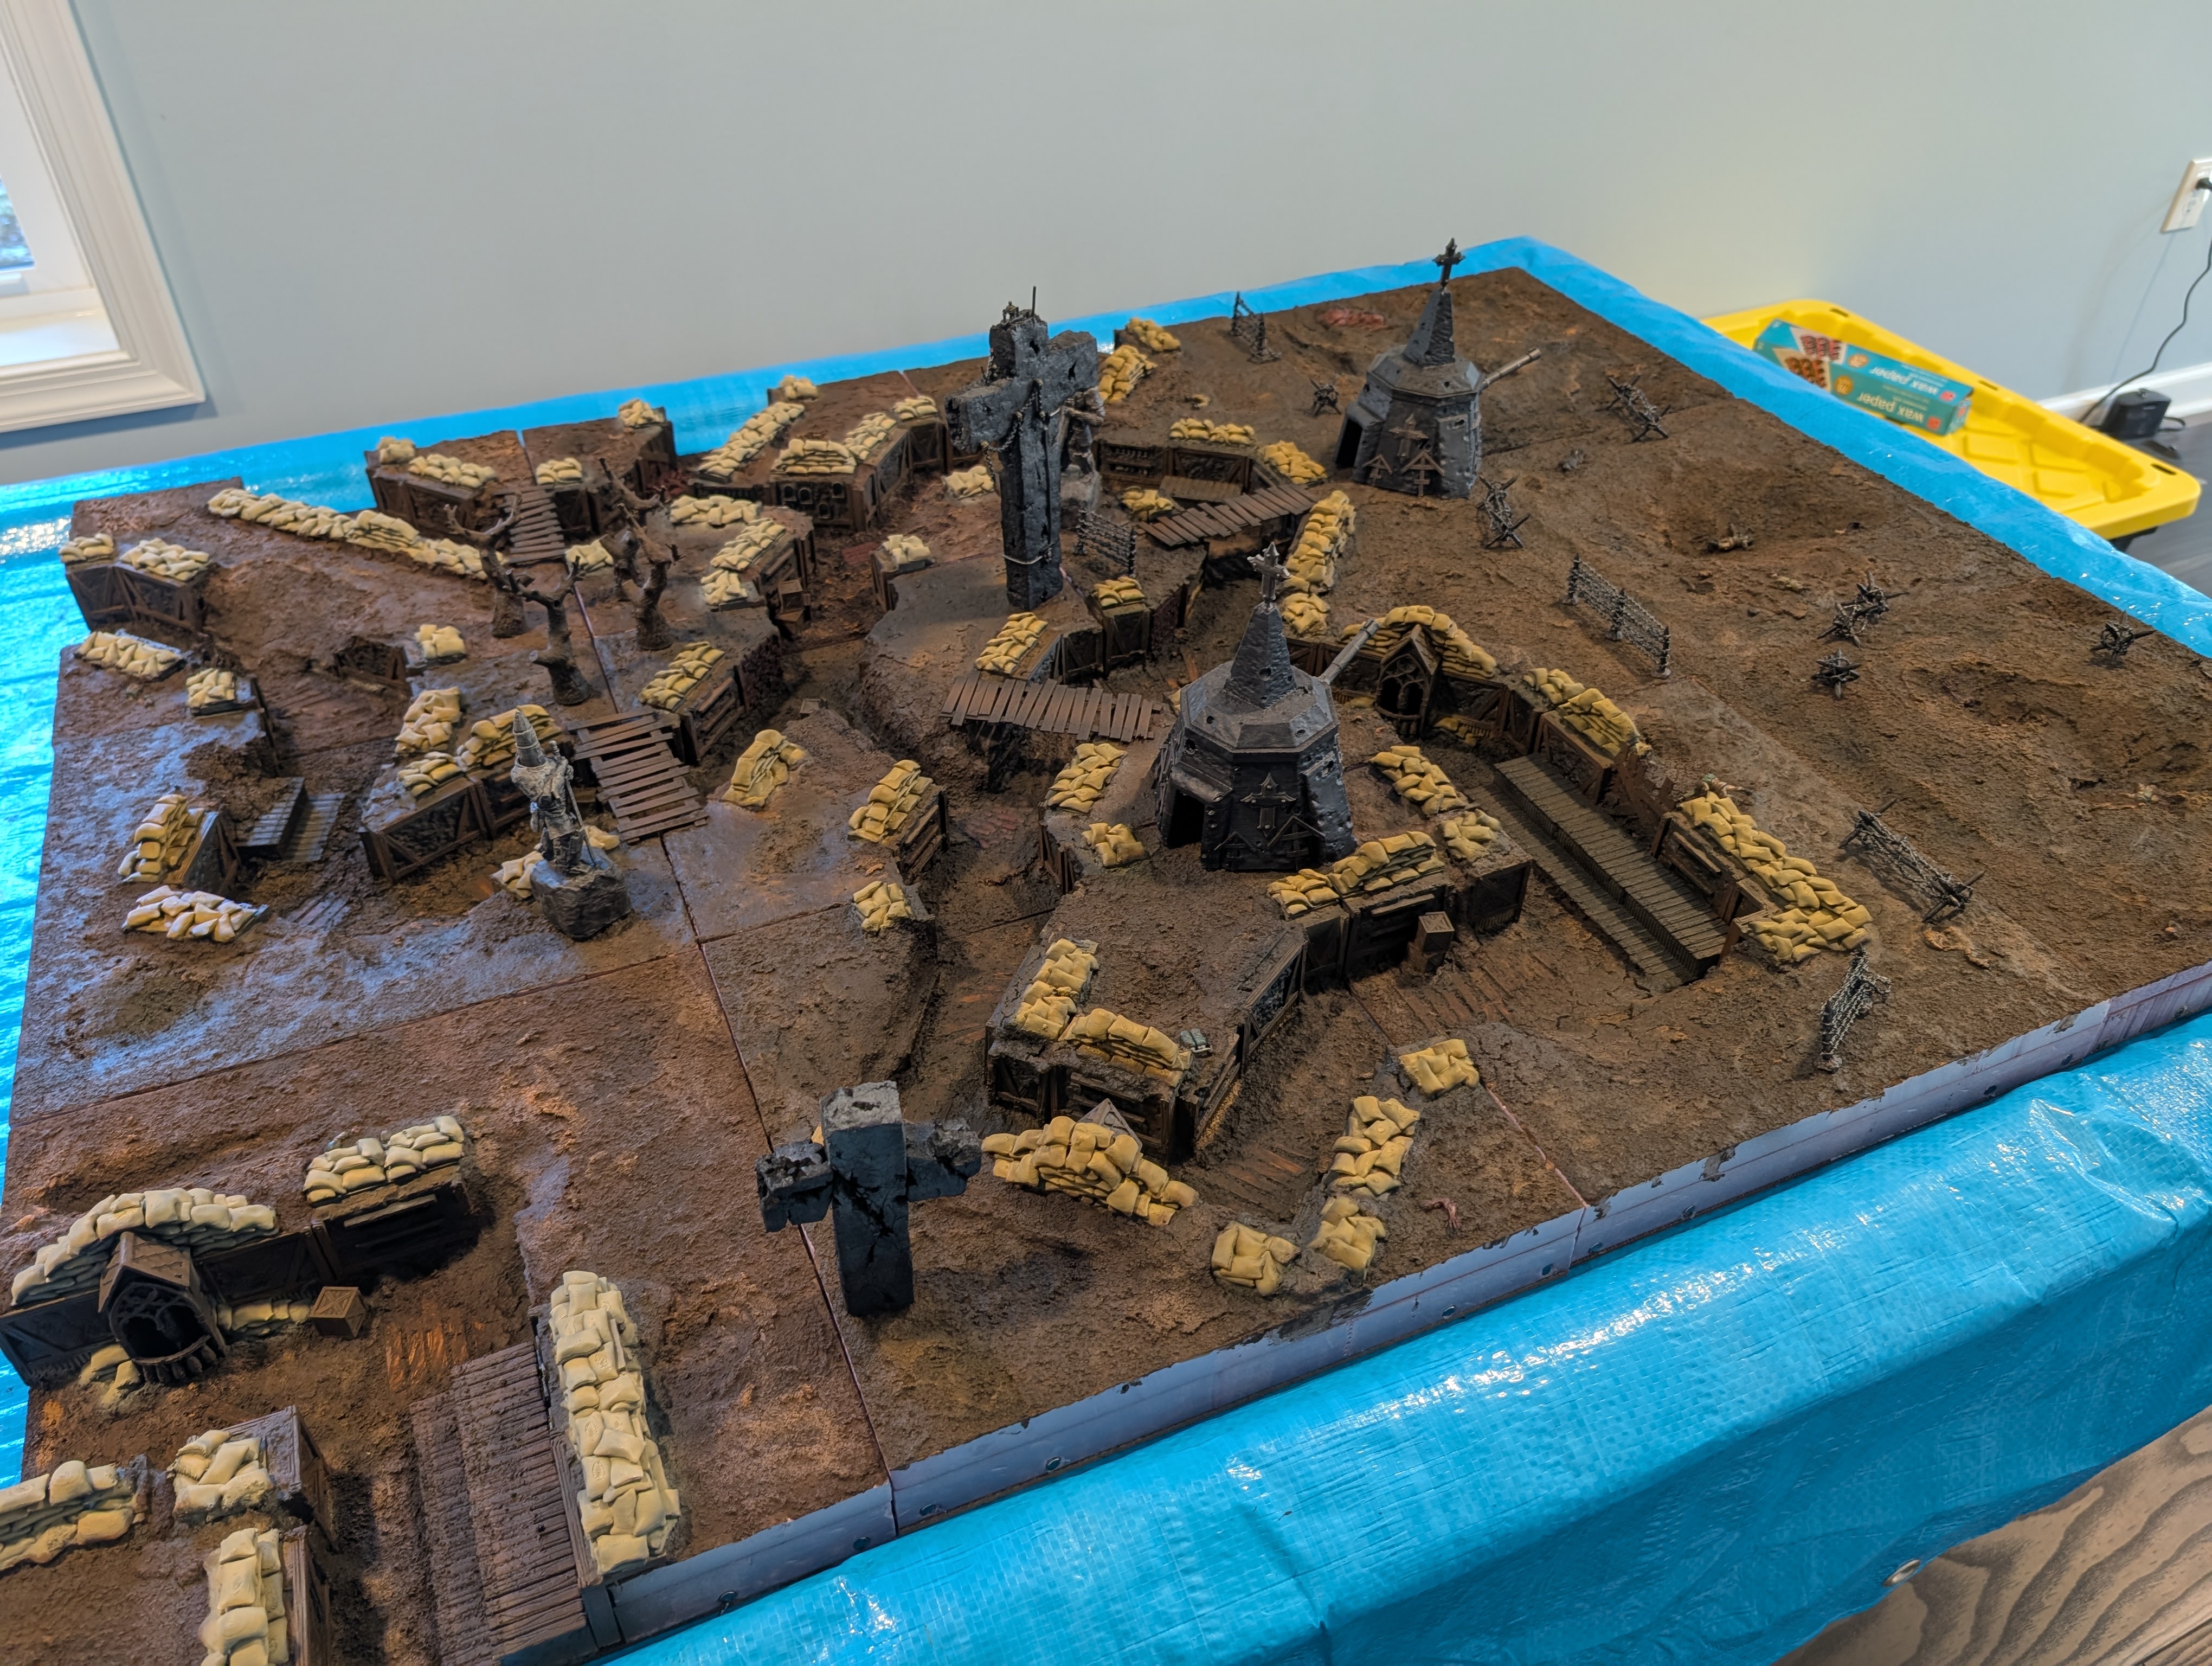
I am not a painter. I don’t really like painting and I’m not very good at it. I paint to not gray minis onto the table. This is easily the most I’ve ever painted. The biggest takeaway is to paint things before gluing it to the board. Airbrushing was a lifesaver here, not only because I can prime indoors in the winter but also because of how quickly I can get things done. Using burnt umber craft paint in the dirt mix also saved some time as I didn’t have to prime and paint the dirt. I did airbrush some other earth tones over it then hit it with two different dry brush colors. Both minimum effort that adds a lot visually.
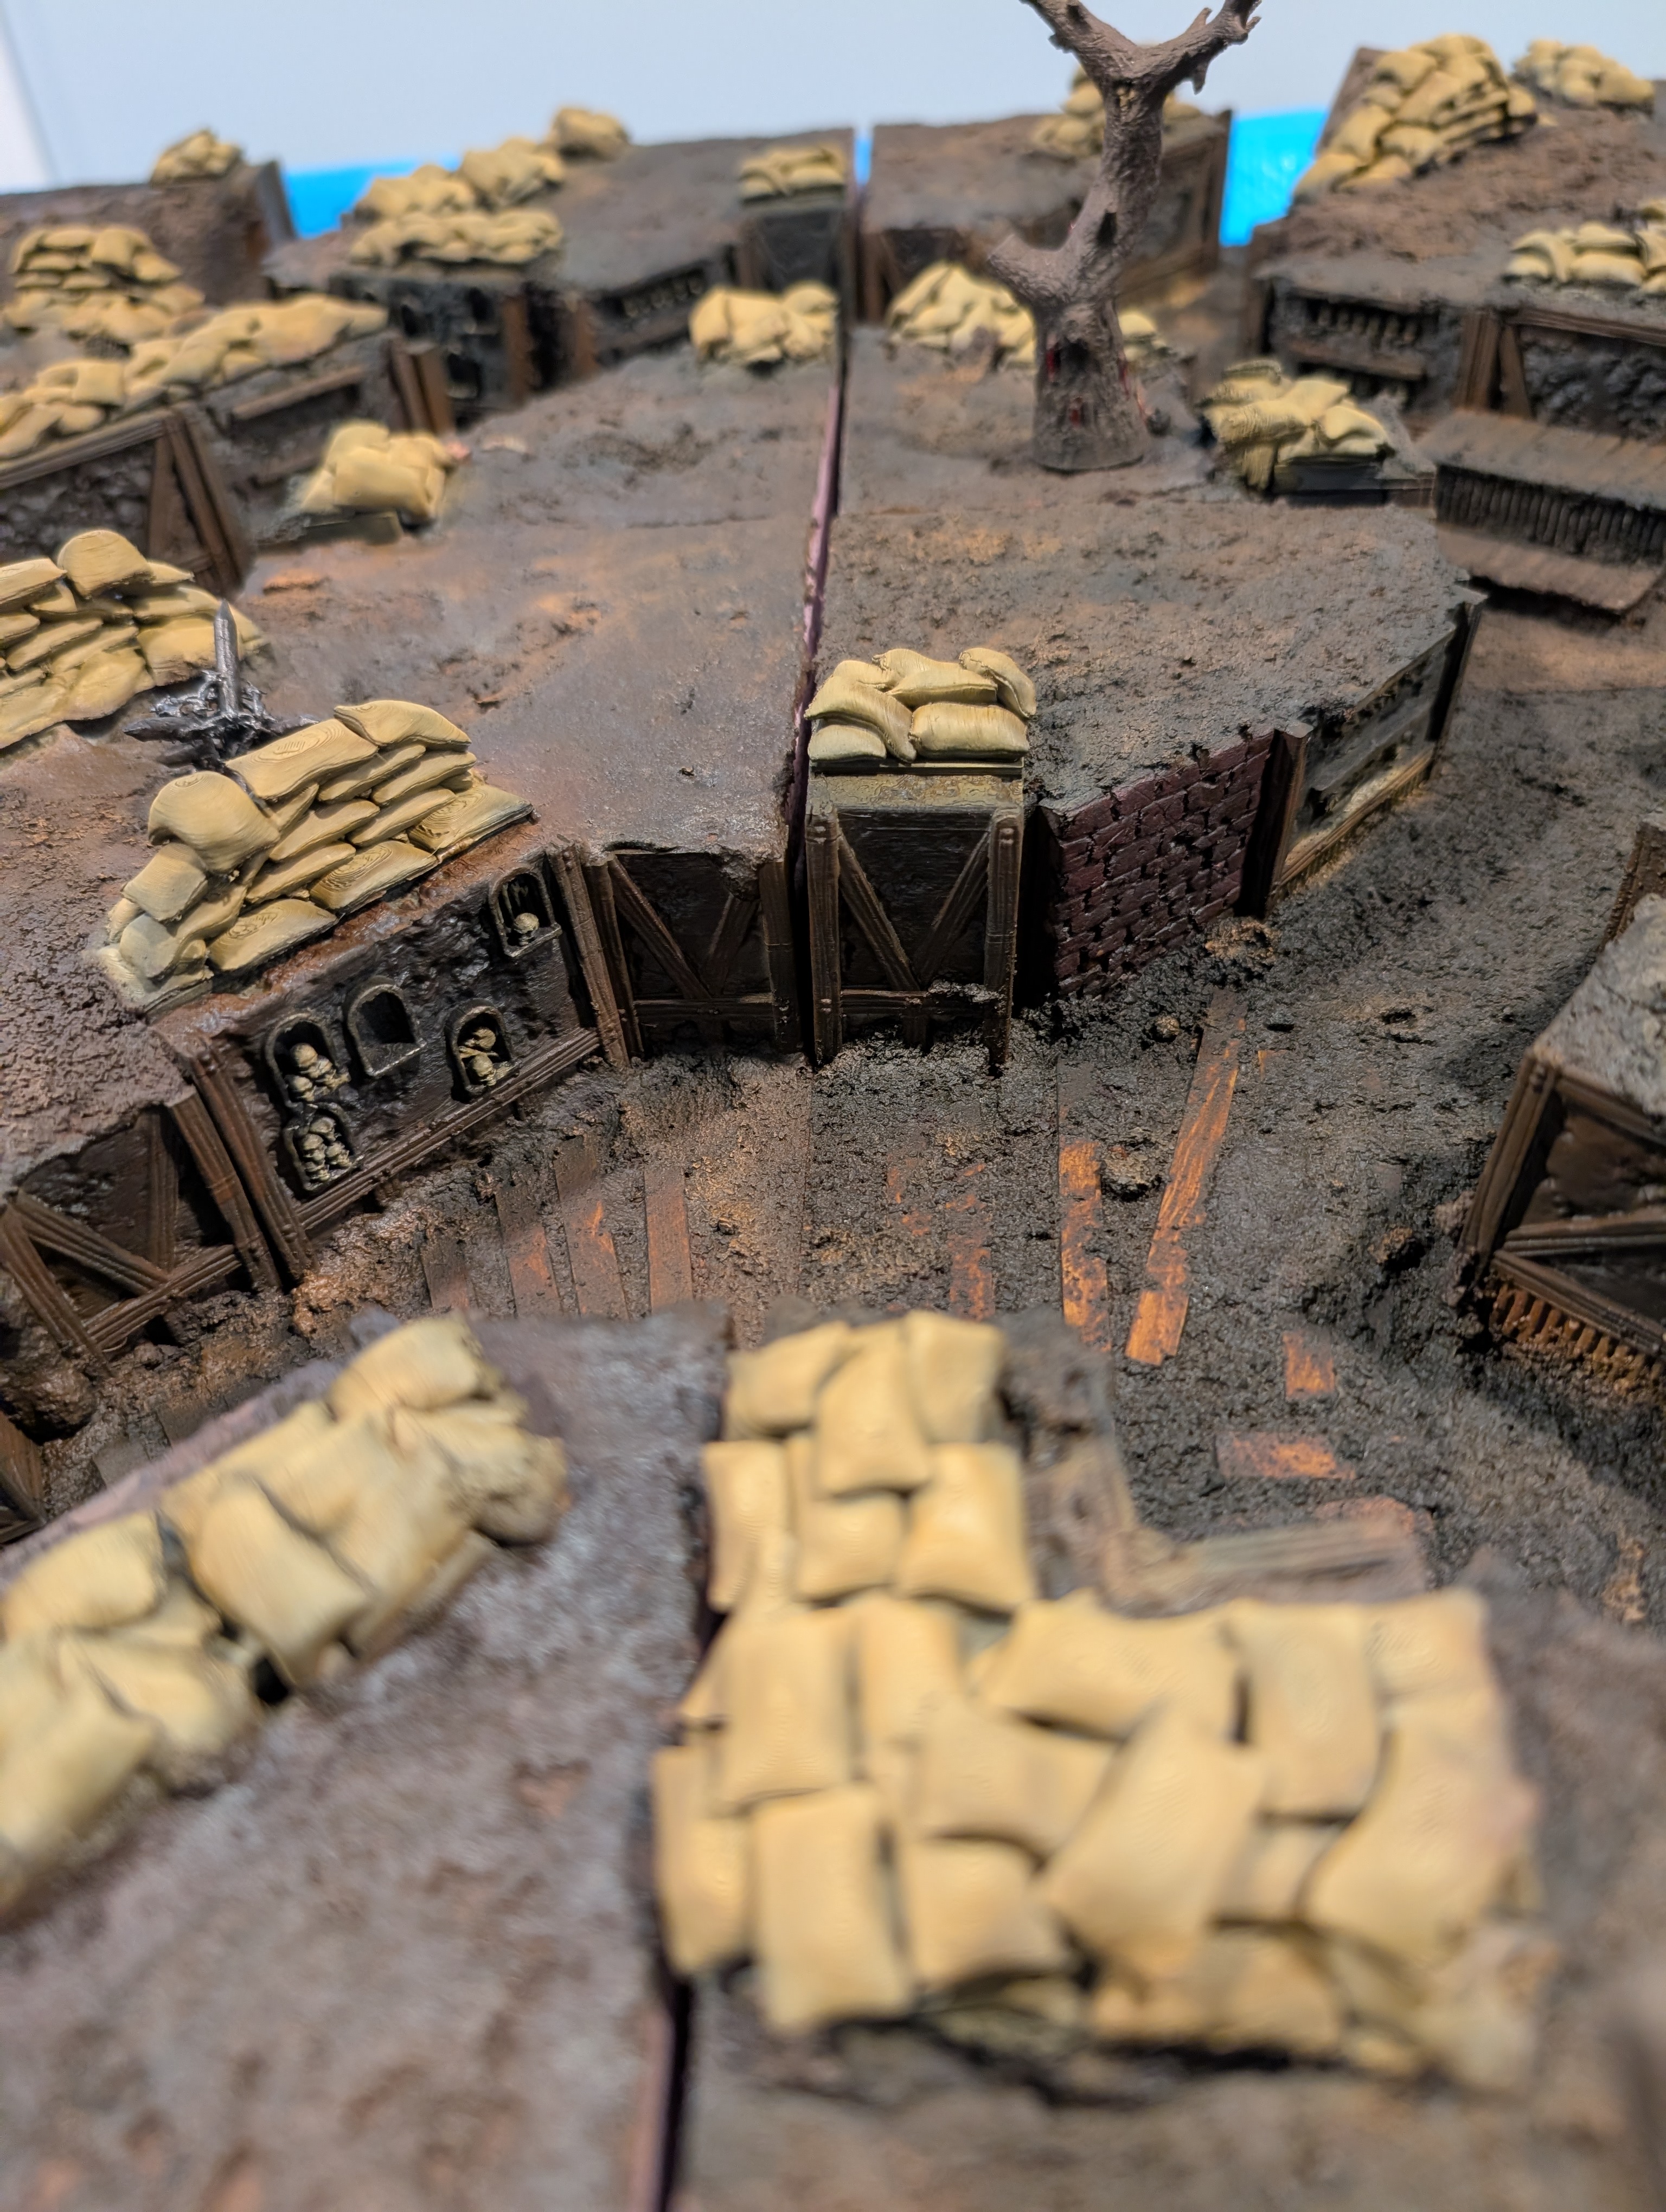
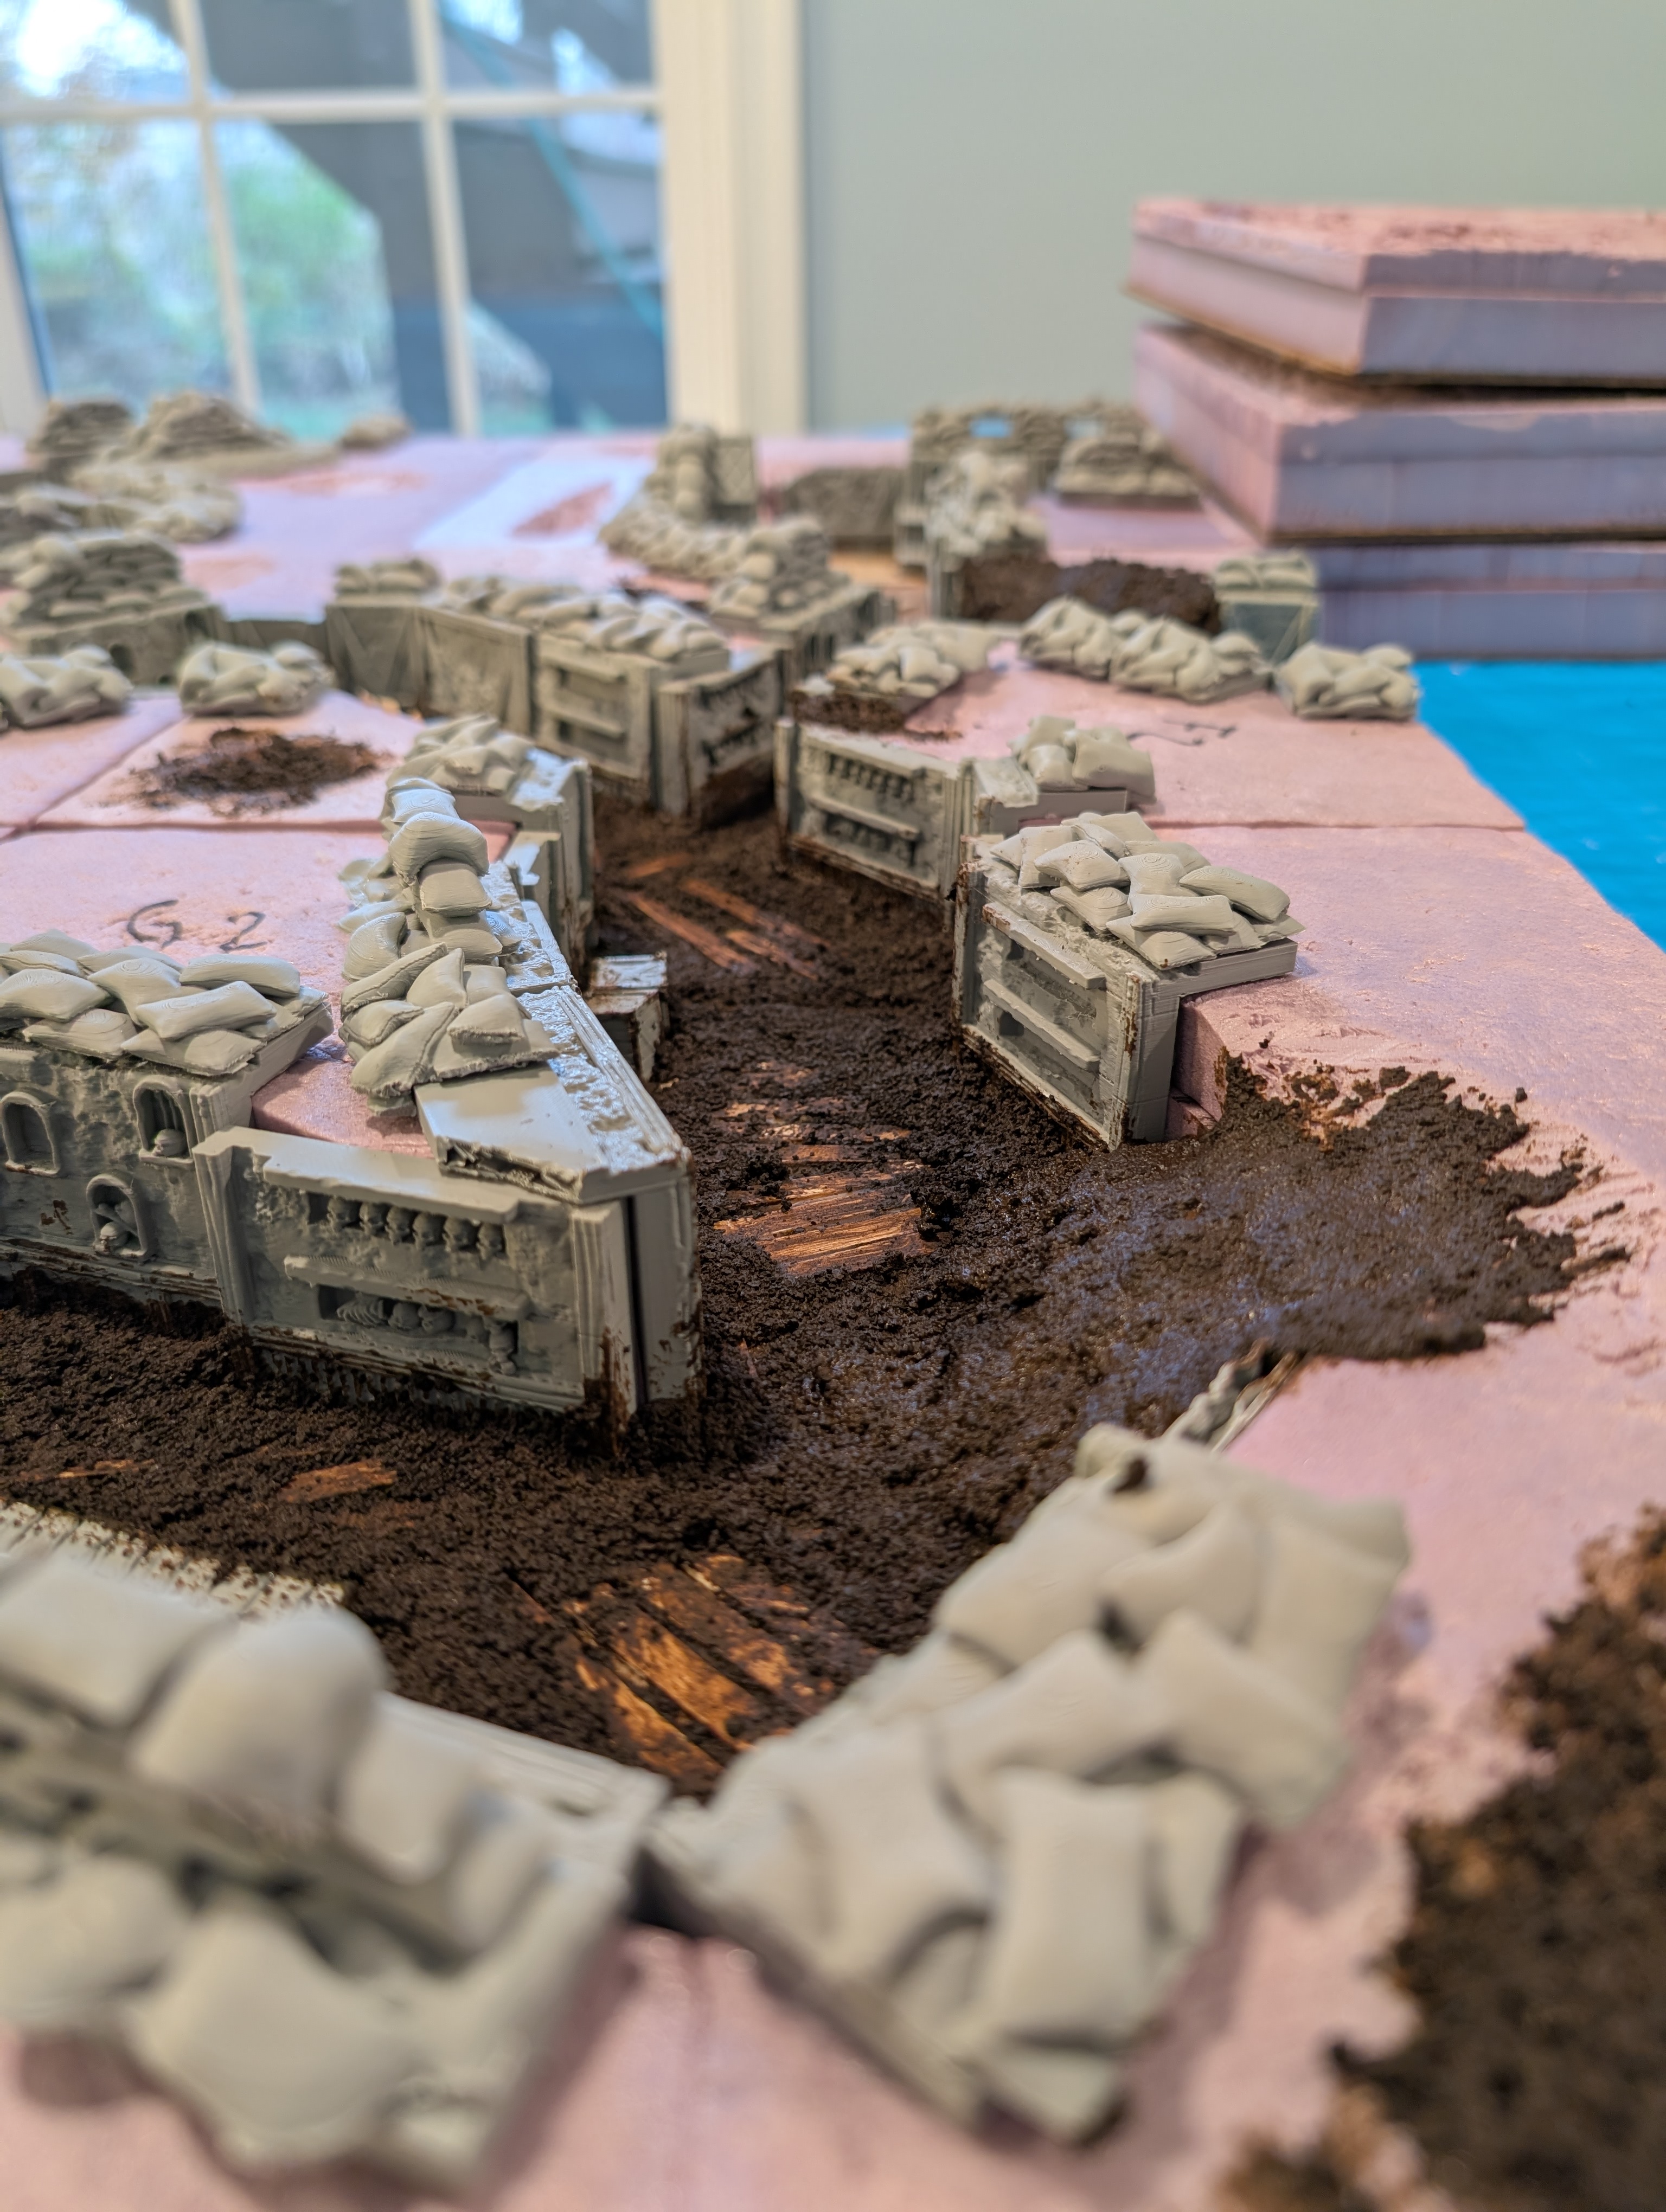
The trench walls were really hard to paint because they were already on the board. Minimum to no details were picked out, everything is a base coat and a wash. It looks fine and it is playable but we won’t be winning any awards. I spent most of my time working on scatter terrain.
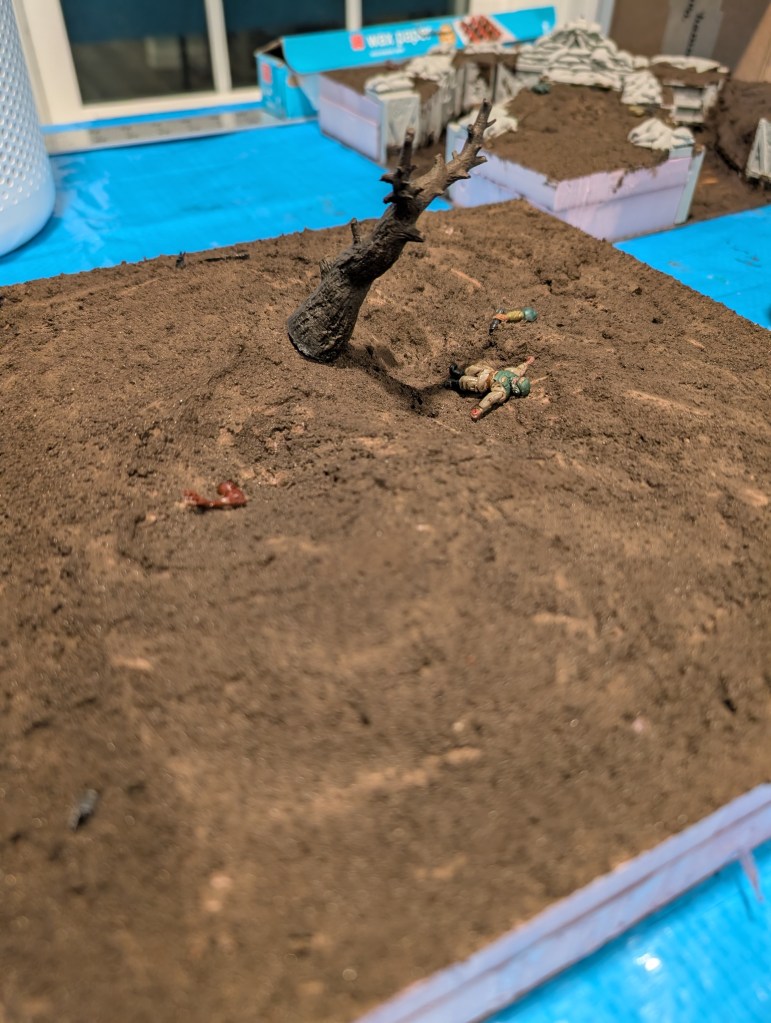
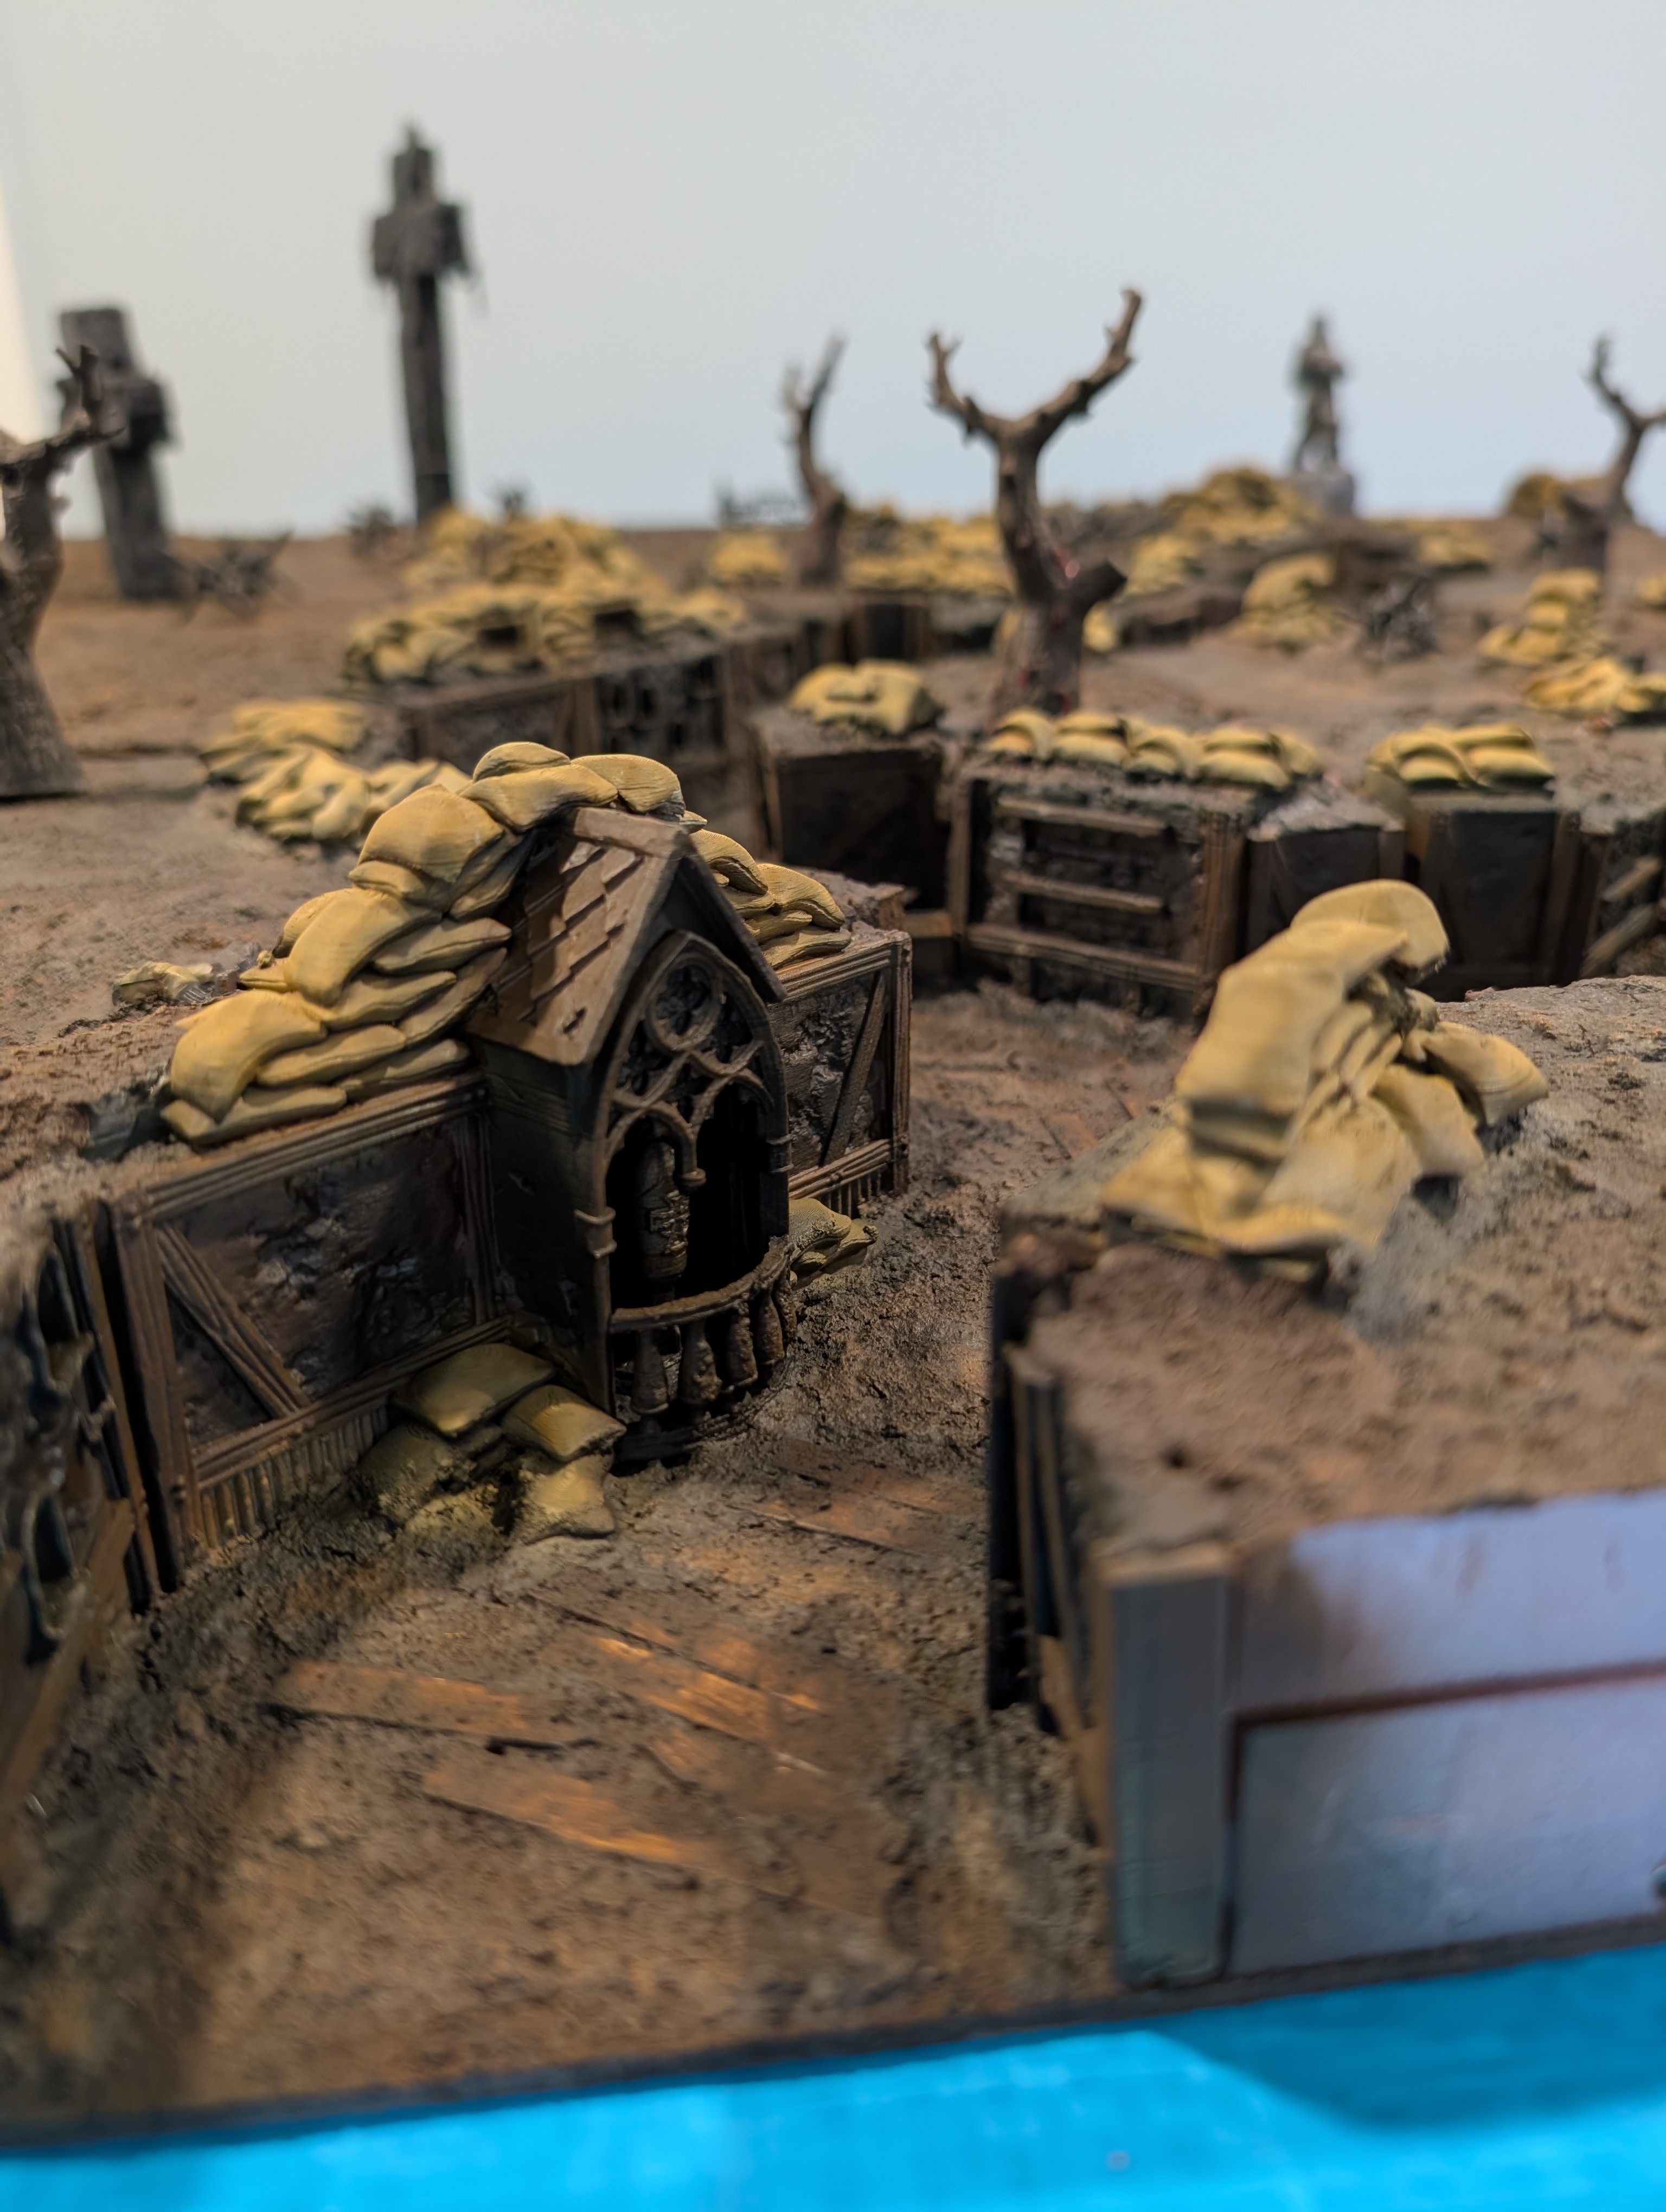
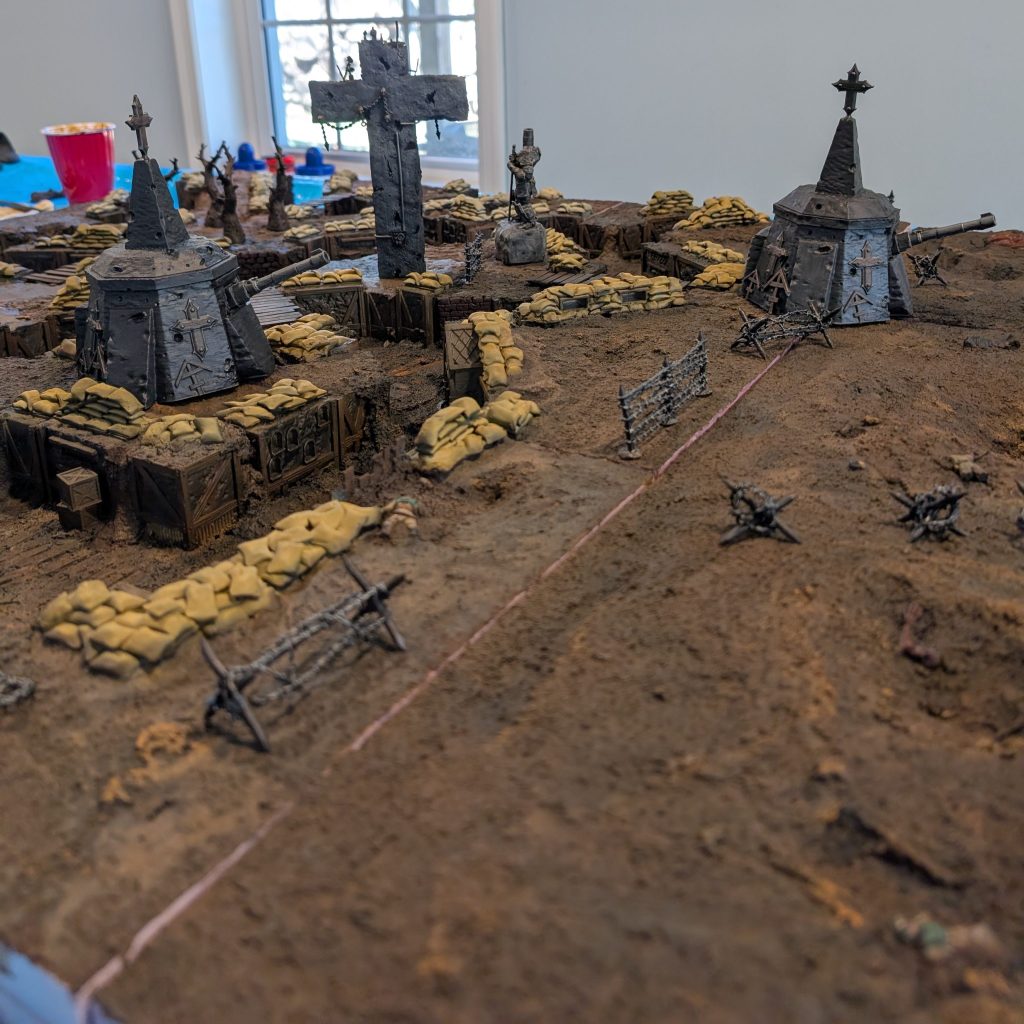
I love how the statues and artillery bunkers turned out, the gray really breaks up the brown dirt that is all over. The trees gave me an opportunity to use Goblin Huts Dirty Down Gore. It is not as fluid as I would like but I could see some uses for it. I’ll be adding it to the barbed wire some point soon.
If I could do the crosses again, I would put them on some steps or base? Something to help steady it. There are magnets but since its so much taller and top heavy, it falls somewhat easily depending on which section of dirt it is on.
What’s left? Are you done yet!?!
Progress has been slow but we’re getting there! I finished applying a brown wash to all the tiles earlier this week. Next up is something I am very excited about. Some of the tiles will be getting puddles! I bought a bottle of AK Puddles to put in some craters/holes to give it a wet, recently rained vibe. I’ve never used any AK products but I hear they are amazing so I’m looking forward to giving it a try. In hindsight, I maybe should’ve bought 2 bottles BUT I’ll be going to Adepticon so maybe I’ll pick up another one there!
I also have a bottle of Dirty Down Gore so I may add that to the barbed wire and maybe make a pool of blood too!
After puddles and other effects I’ll be painting the sides of the tiles with a black & PVA mix. Then spaying a top coat/varnish to really seal everything in.

Leave a comment